Nothin beats maple sugarin in the spring! The picture above is actually step two in a 2 step process. First you make a hole in a maple, boxelder, river burch, black walnut, or hickory tree and collect the sap. (Maple trees produce the most sap) Then you boil it till it’s syrup. You can boil it all up in any pan you want over a fire or on the stove. It really is that simple, here are a few suggestions.
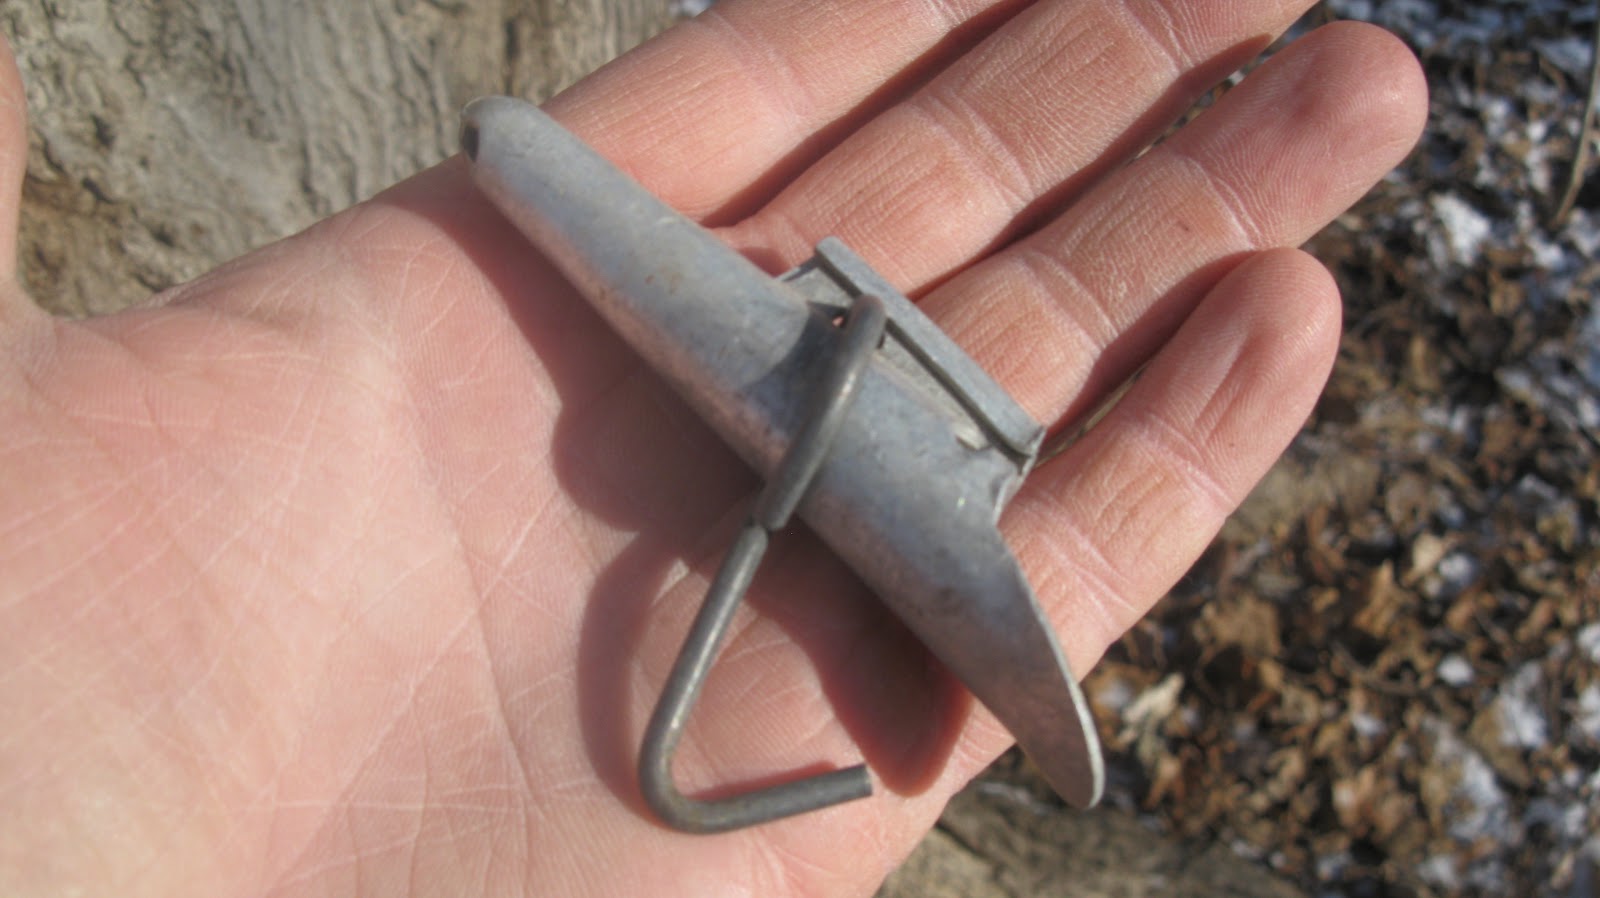
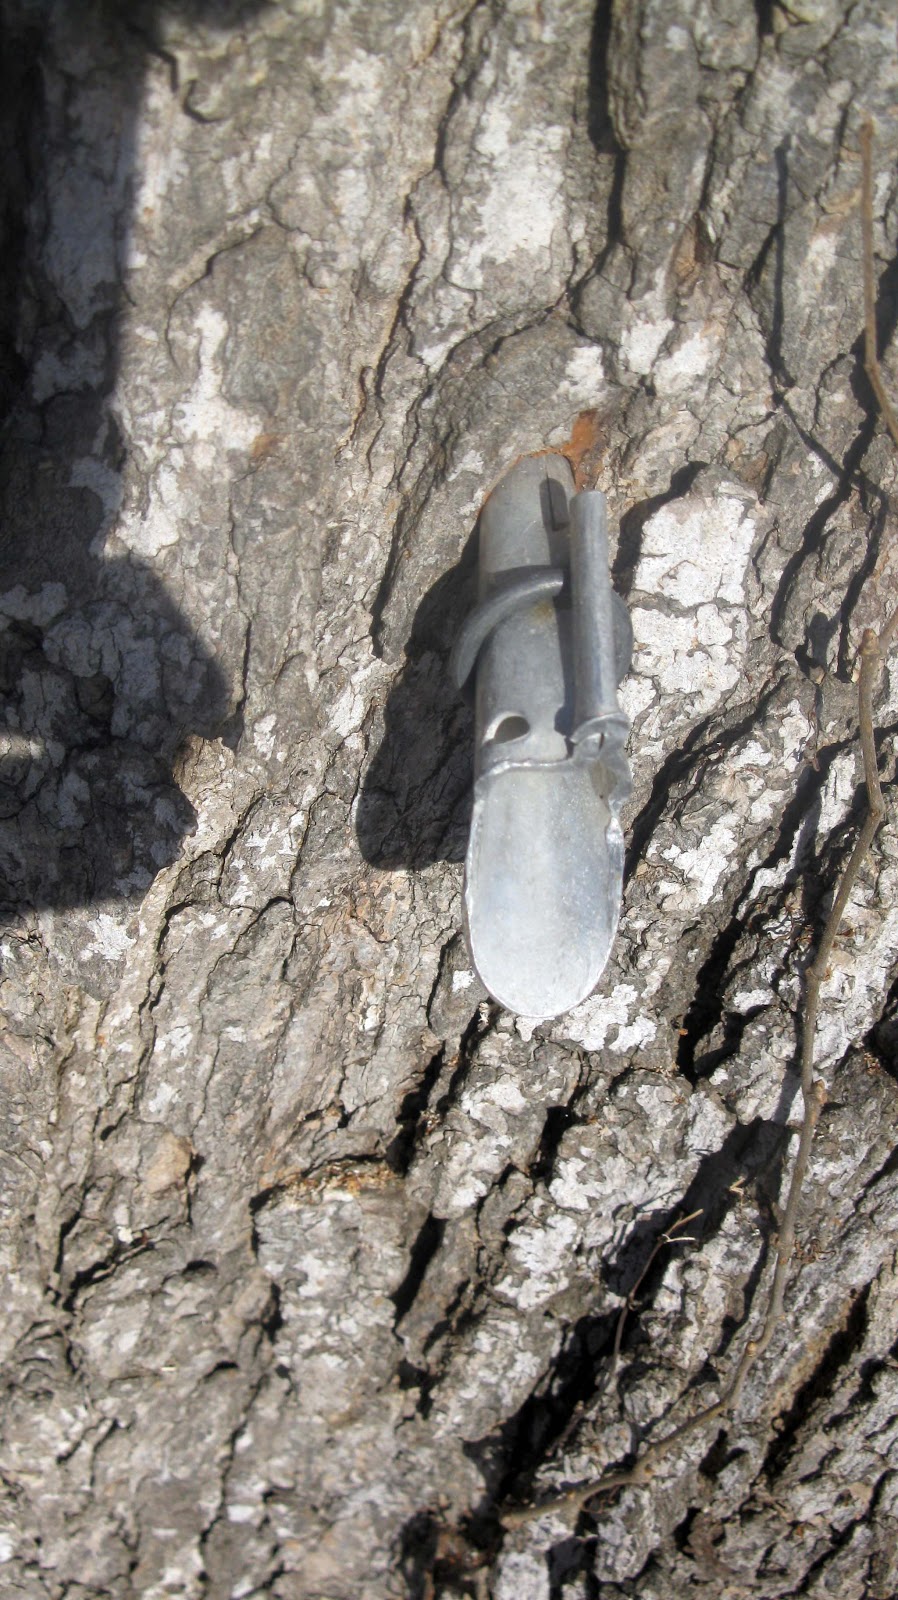
This is a store bought spile. It goes in the tree and the sap runs down the spigot.
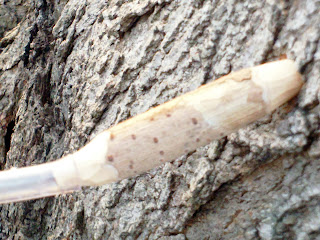
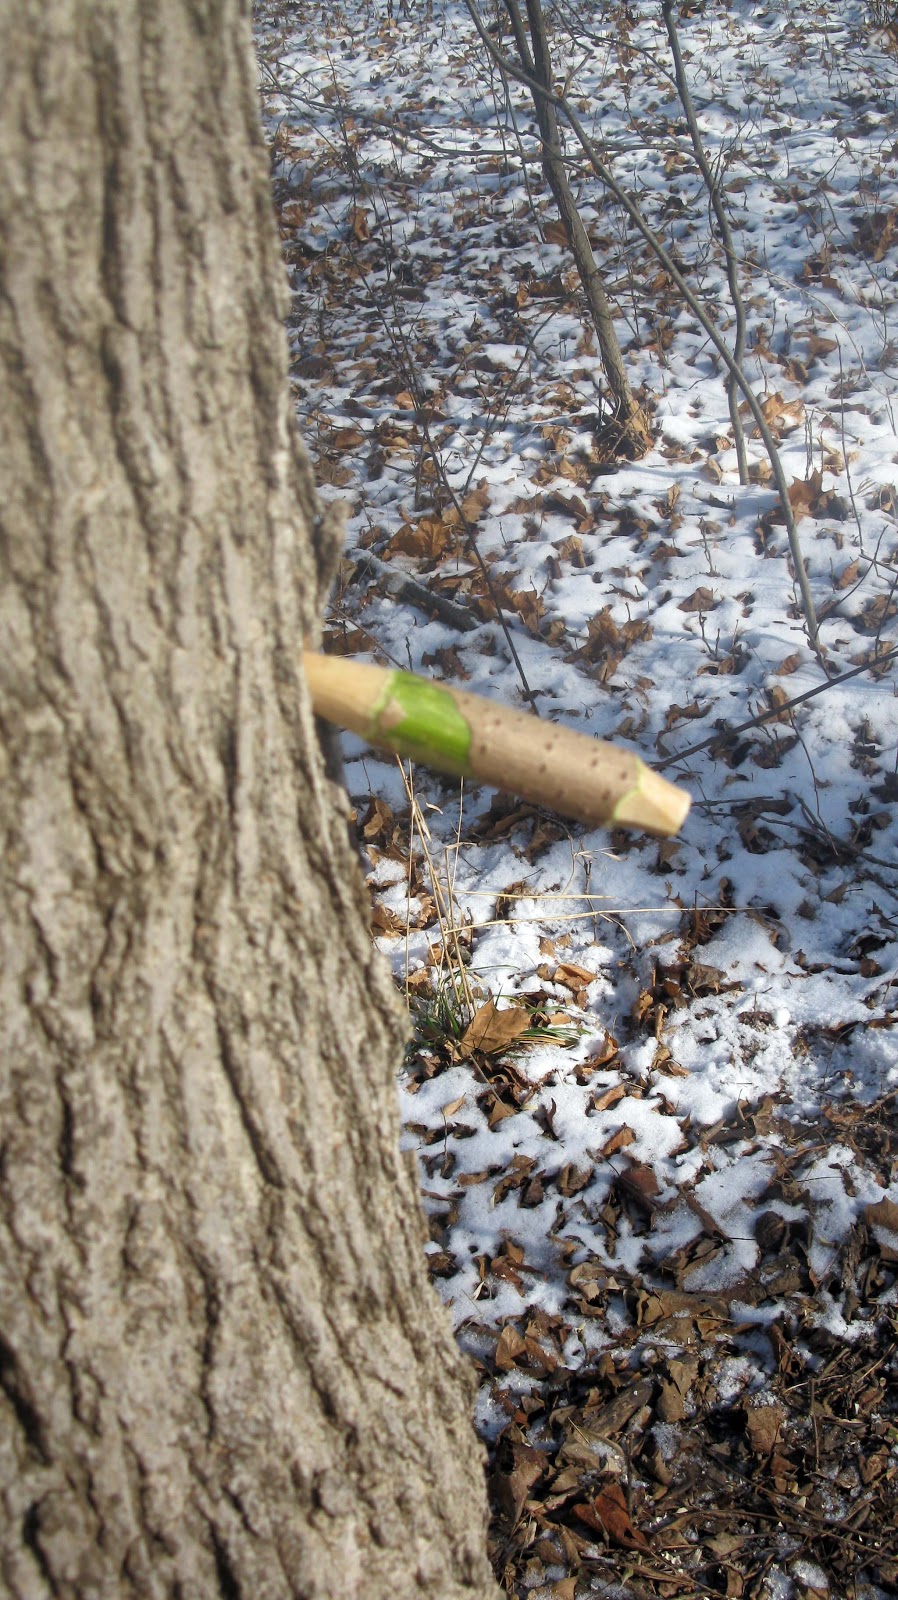
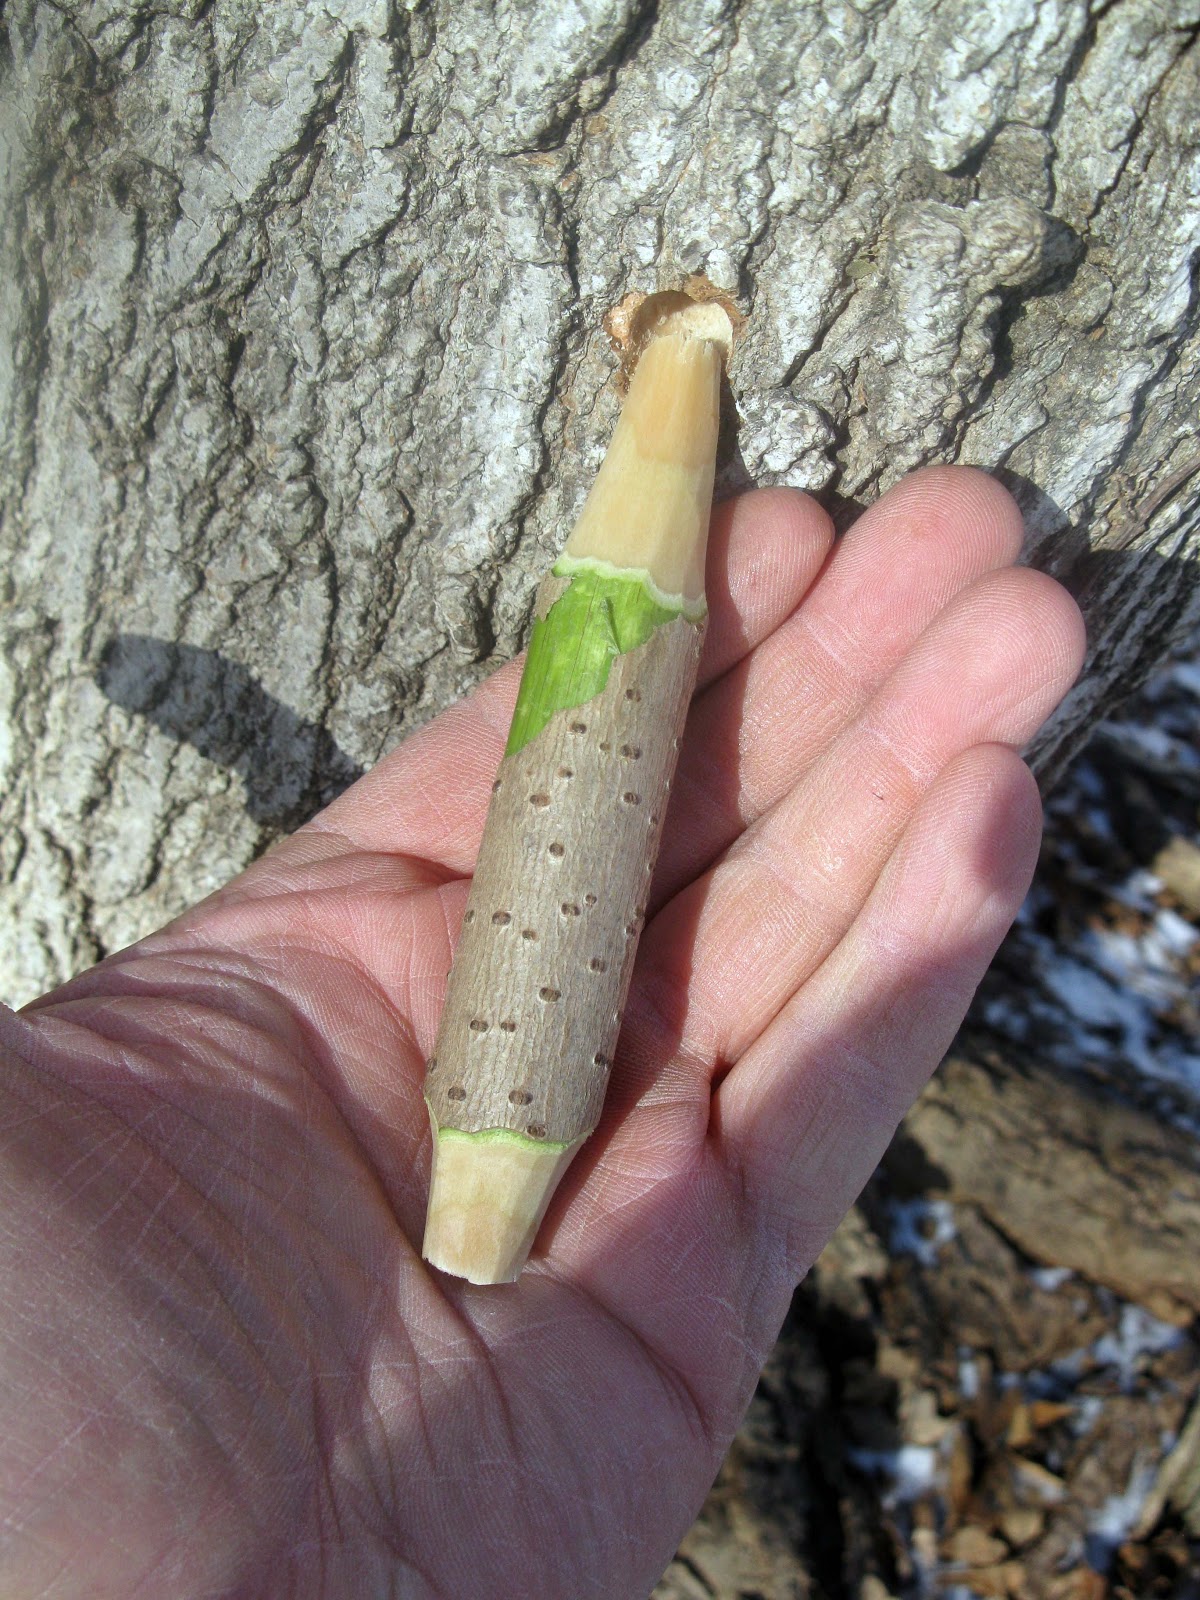
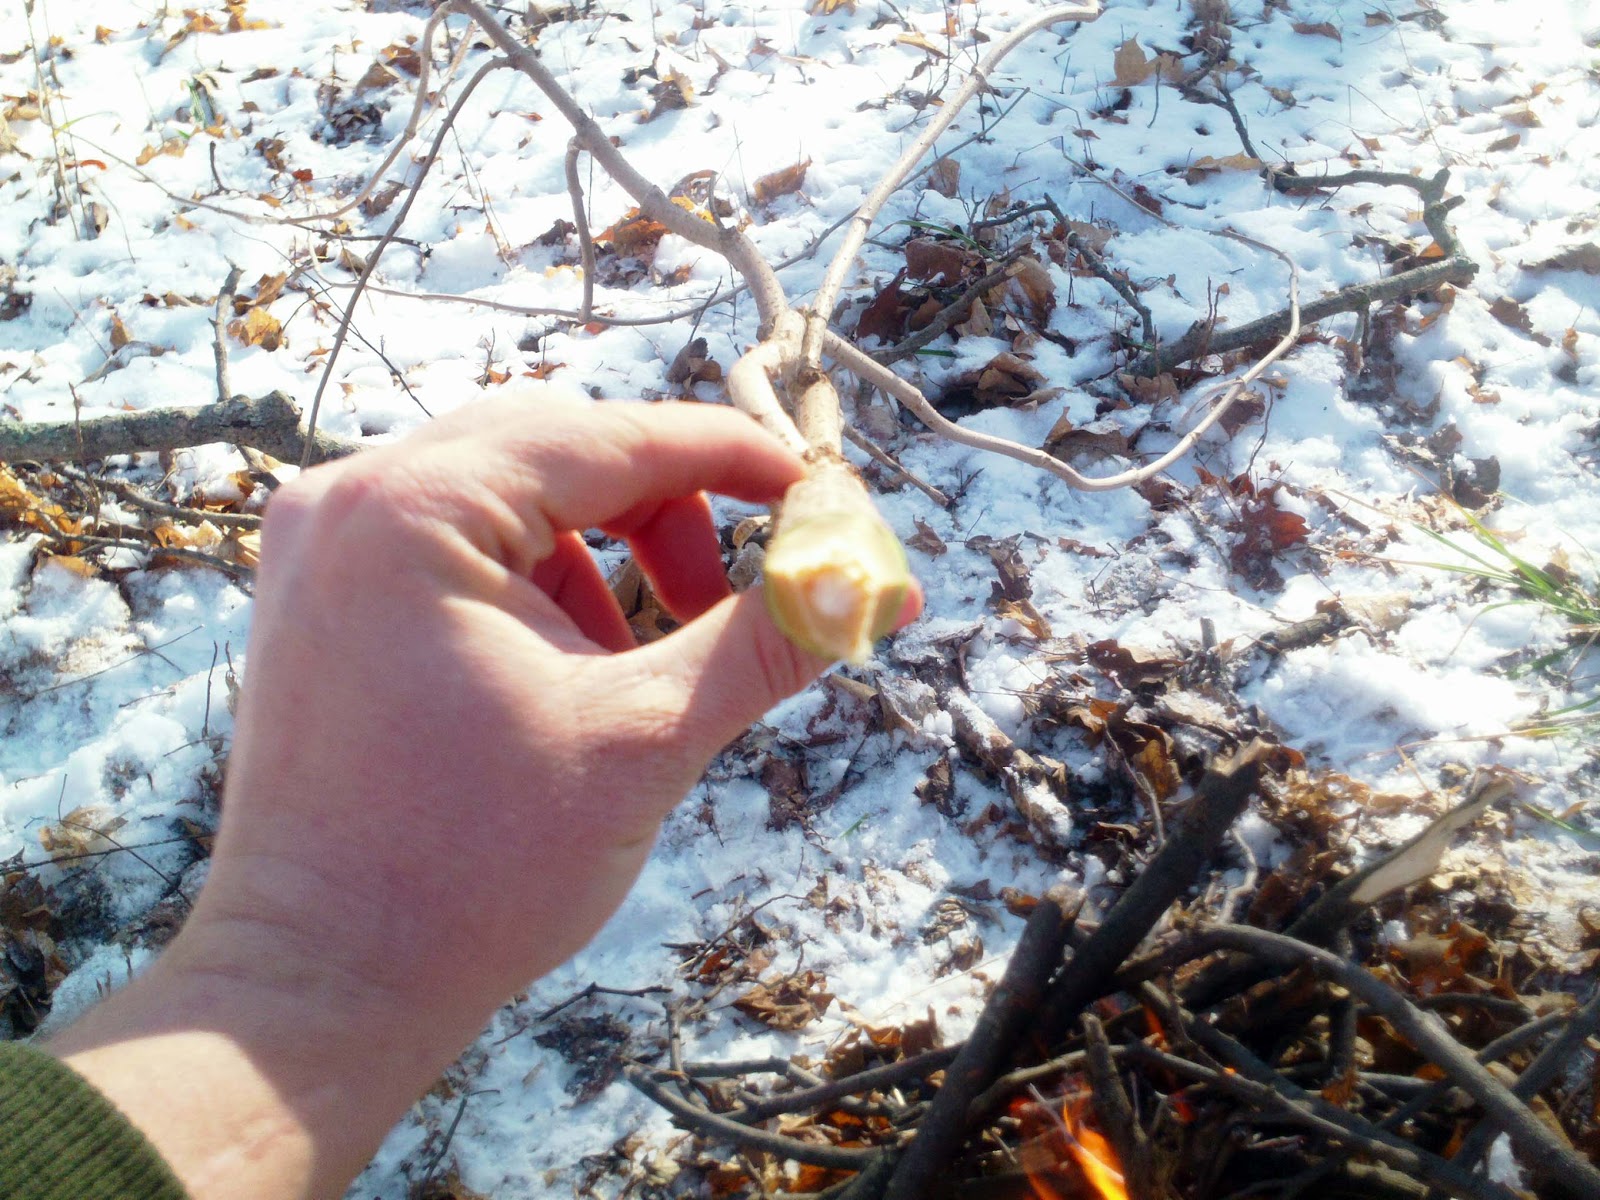
This is an elderberry spile I made. Same job, I’ll show you how I did this in a bit.
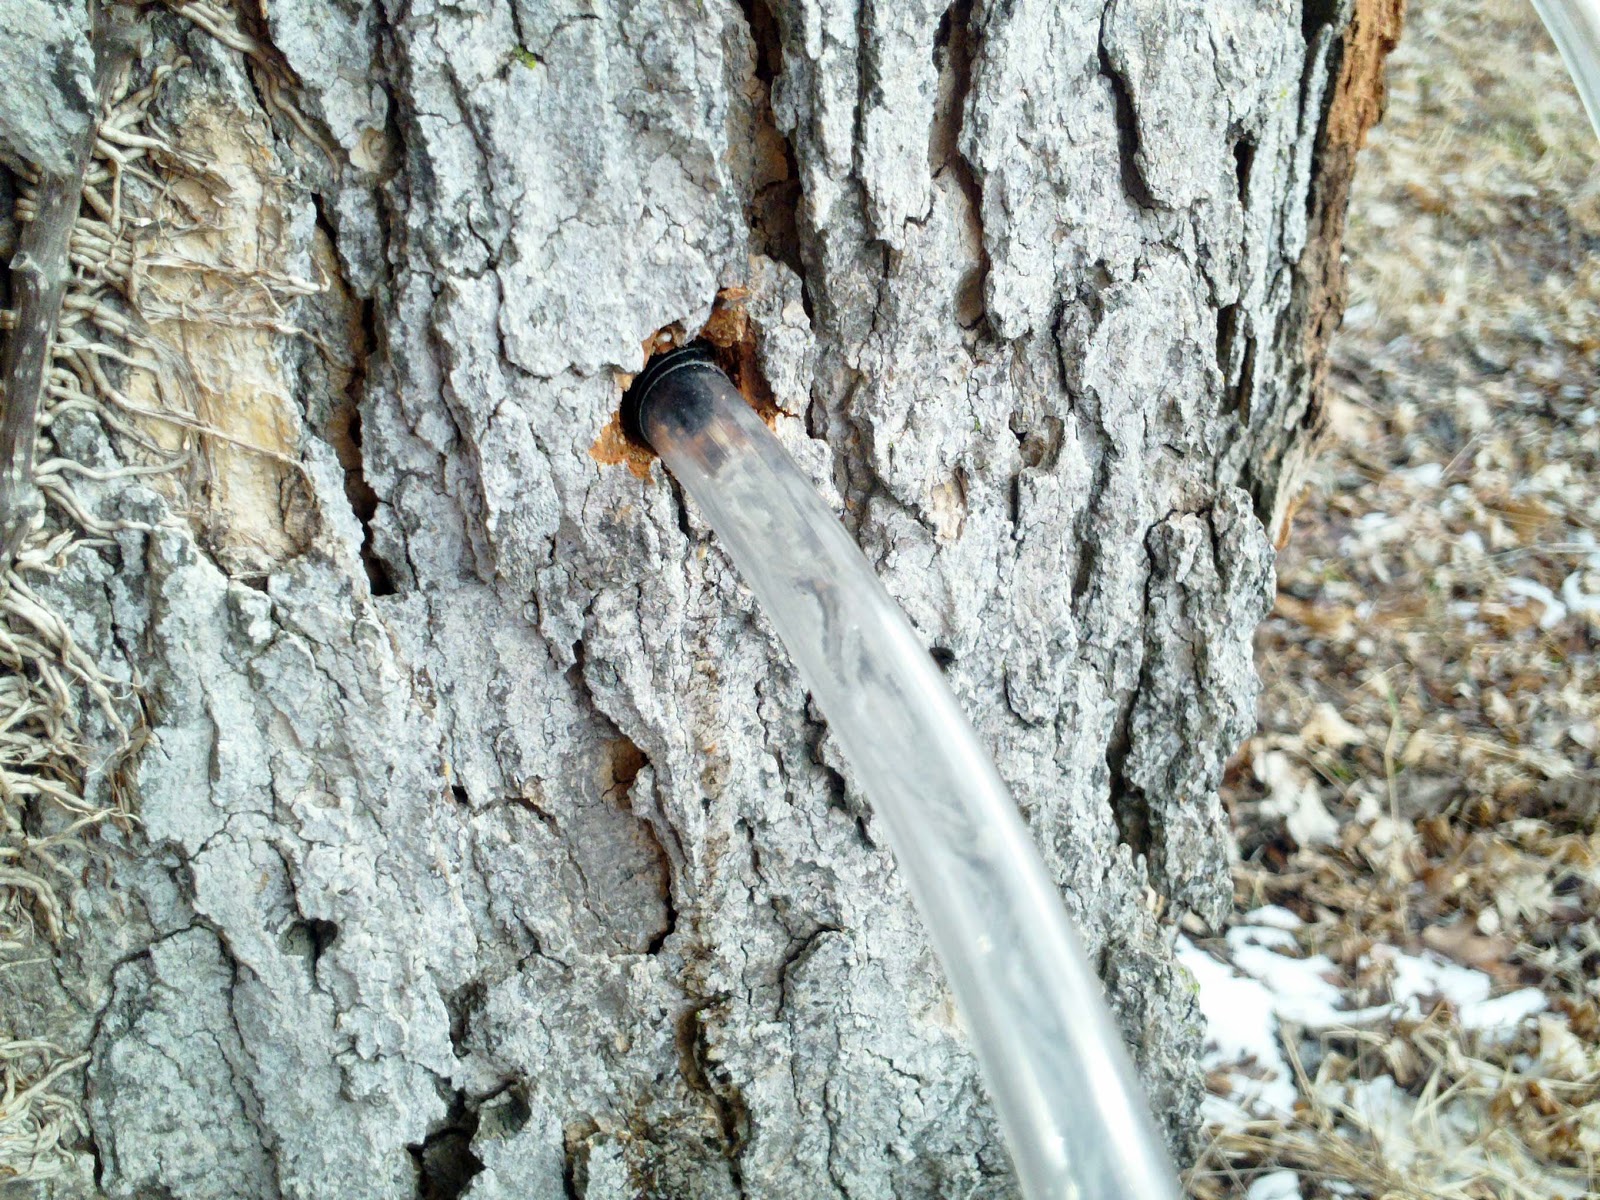
This is a redneck spile. Its a tube with electric tape. Make sure your drill bit is almost the same size and walla.
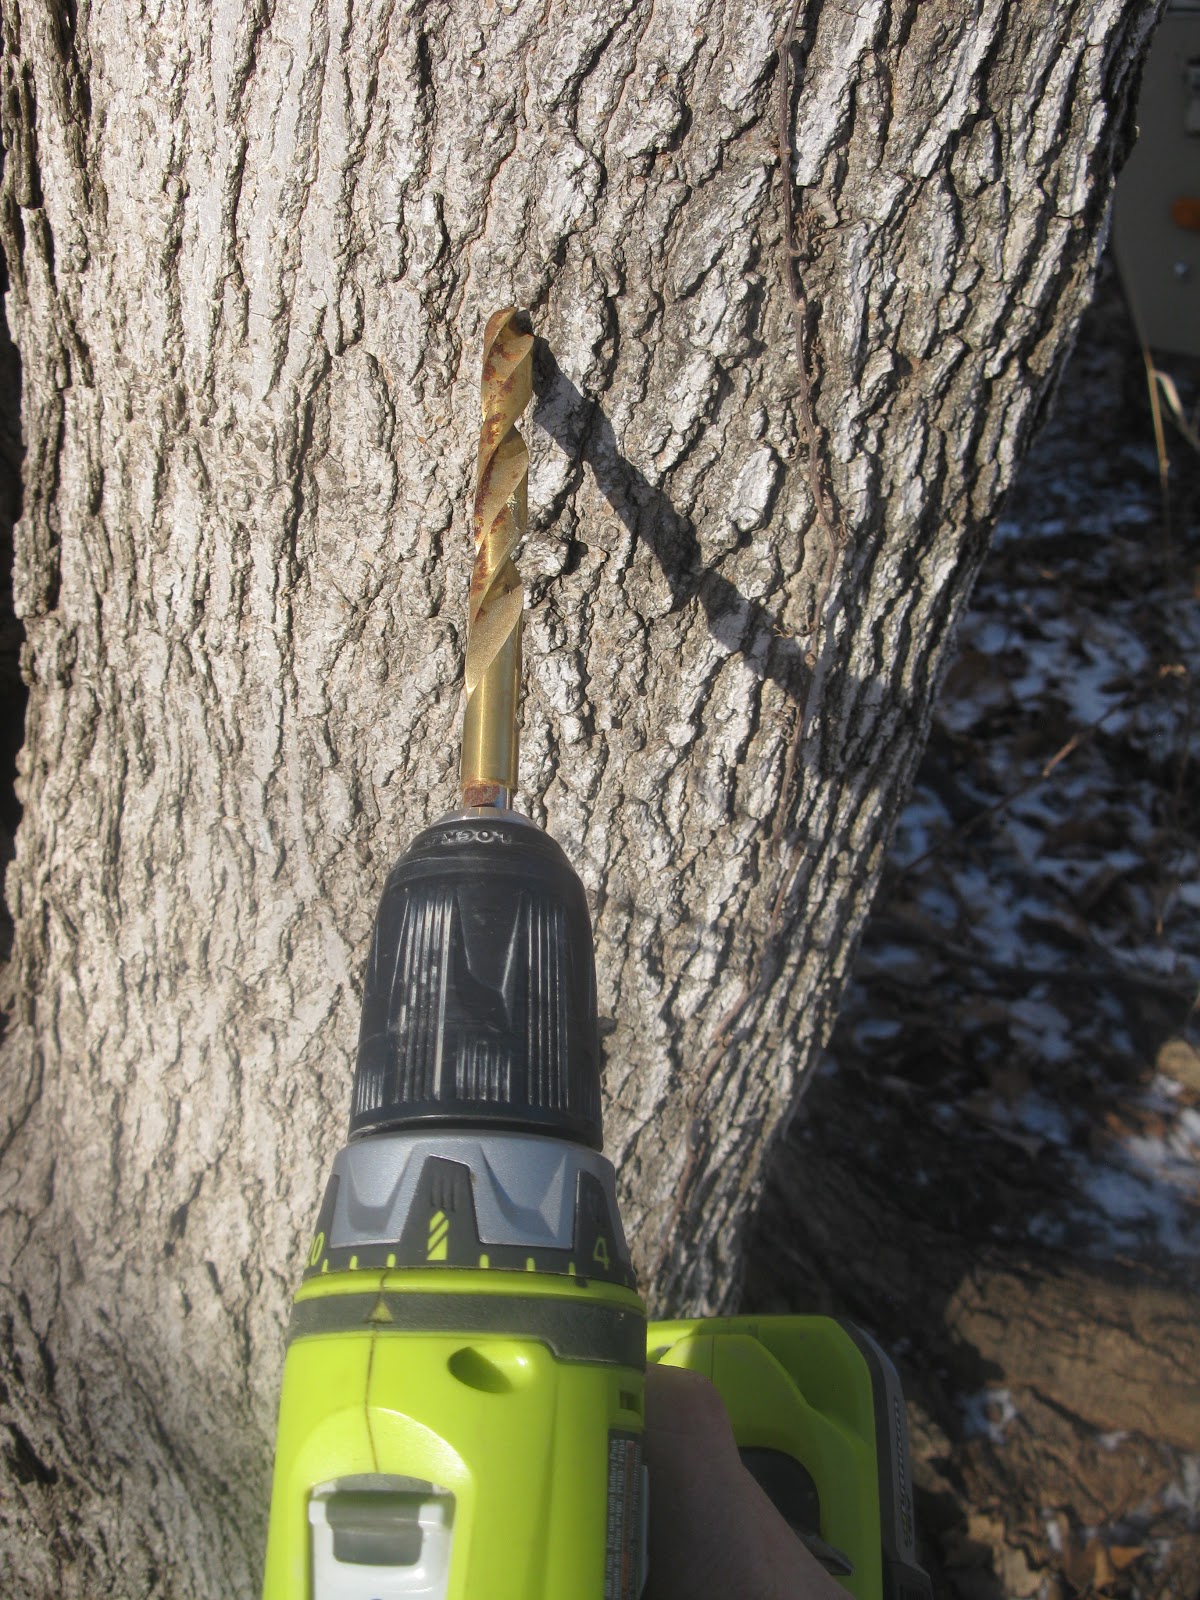
Drill a hole in a maple tree that has a trunk 10 inches wide. If the tree you have has a monster trunk you can tape more than once without much harm. The bark grows back shut over the next year.
It’s about that deep. Can’t remember the bit size, but it’s big enough for my spile and that’s all that matters.
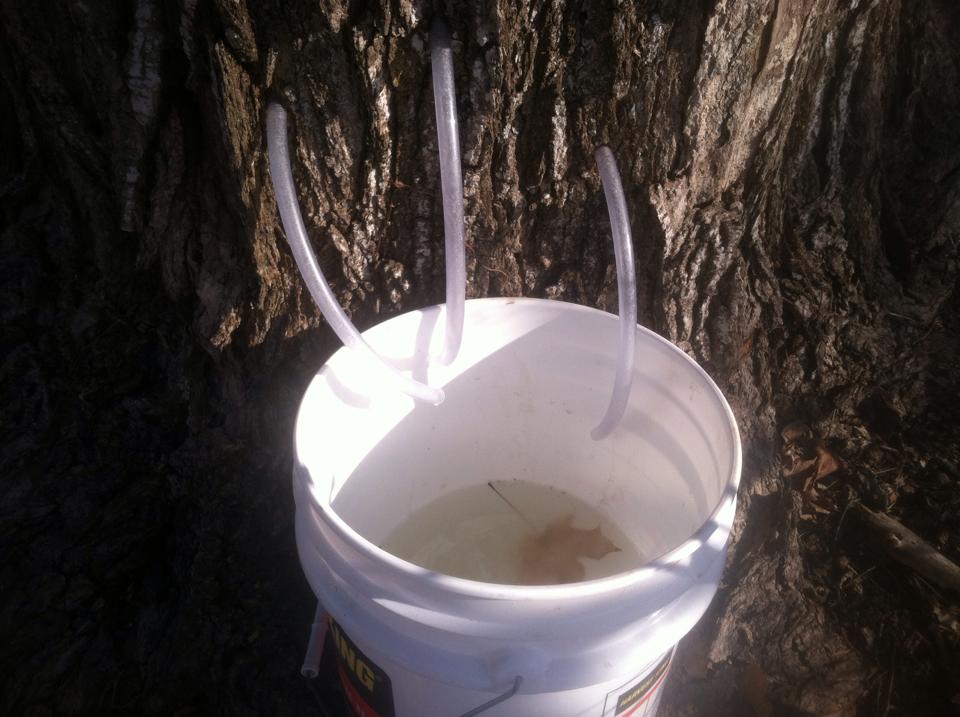
After that you should get a bucket to collect your sap.

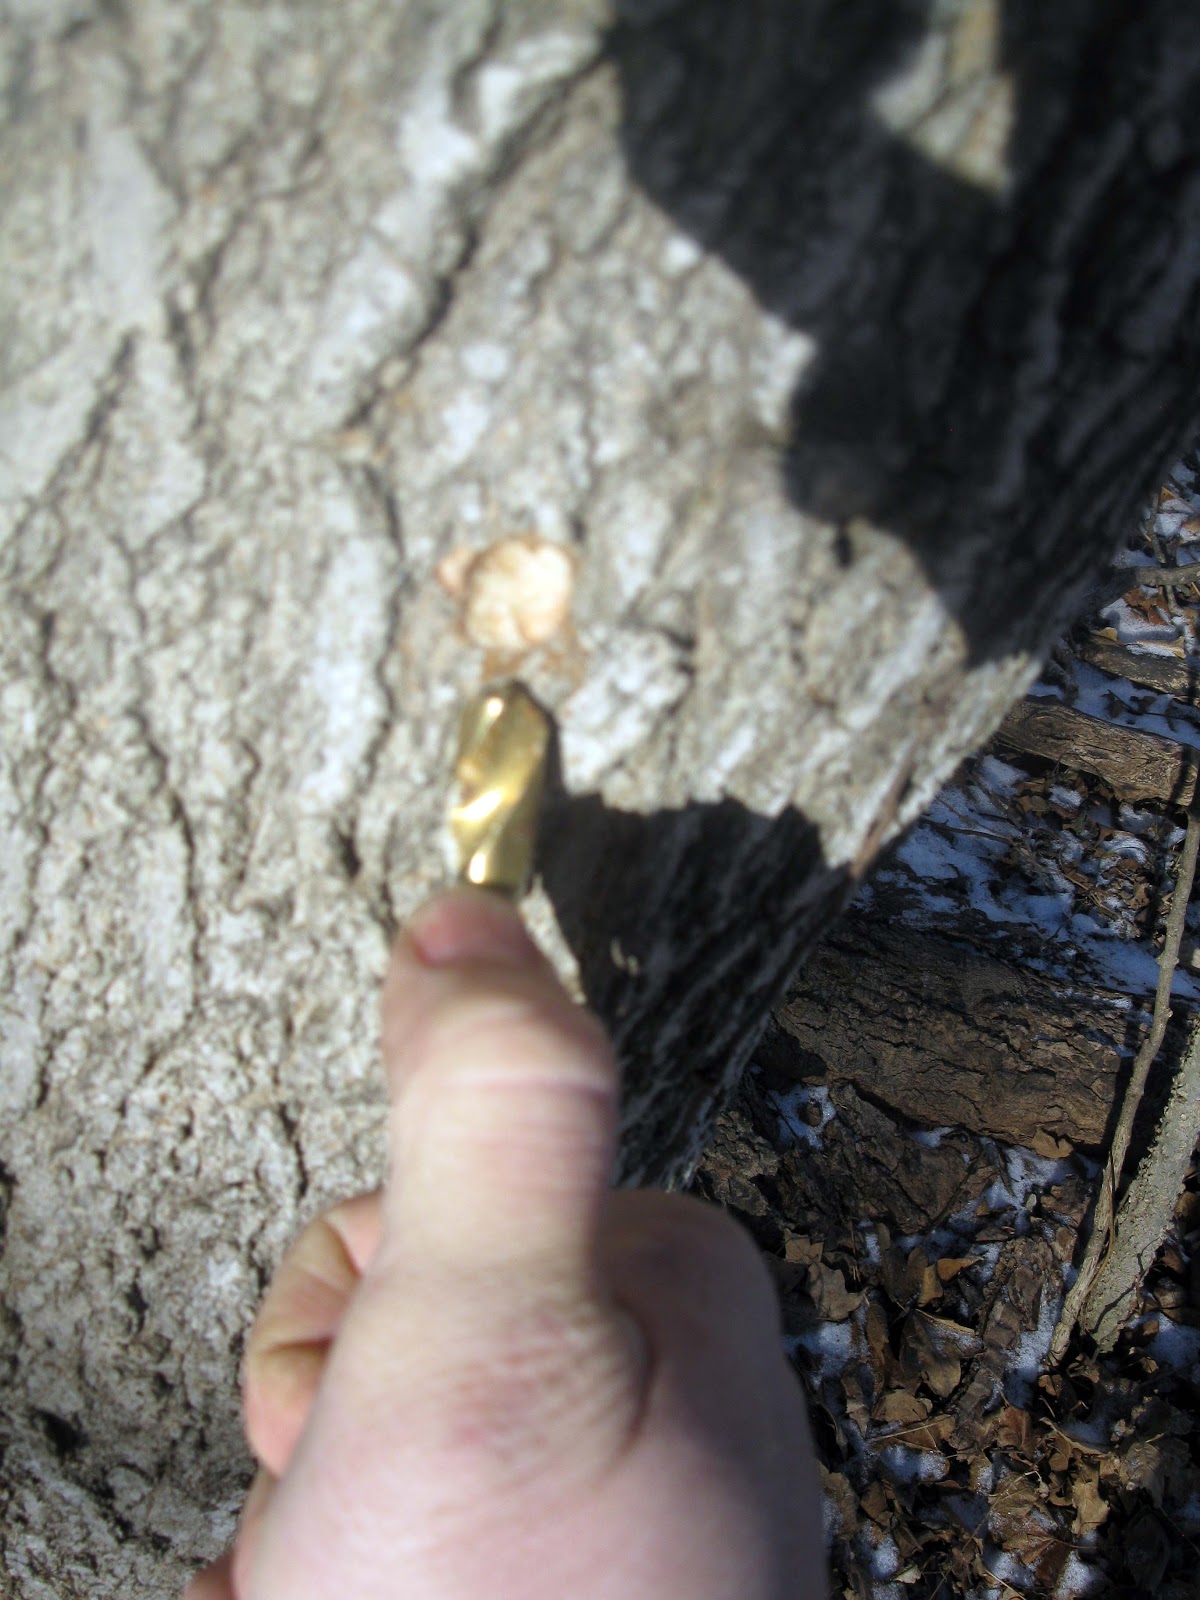
This tree was at least 4 ft diameter so I tapped 3 times. The bucket is on the ground
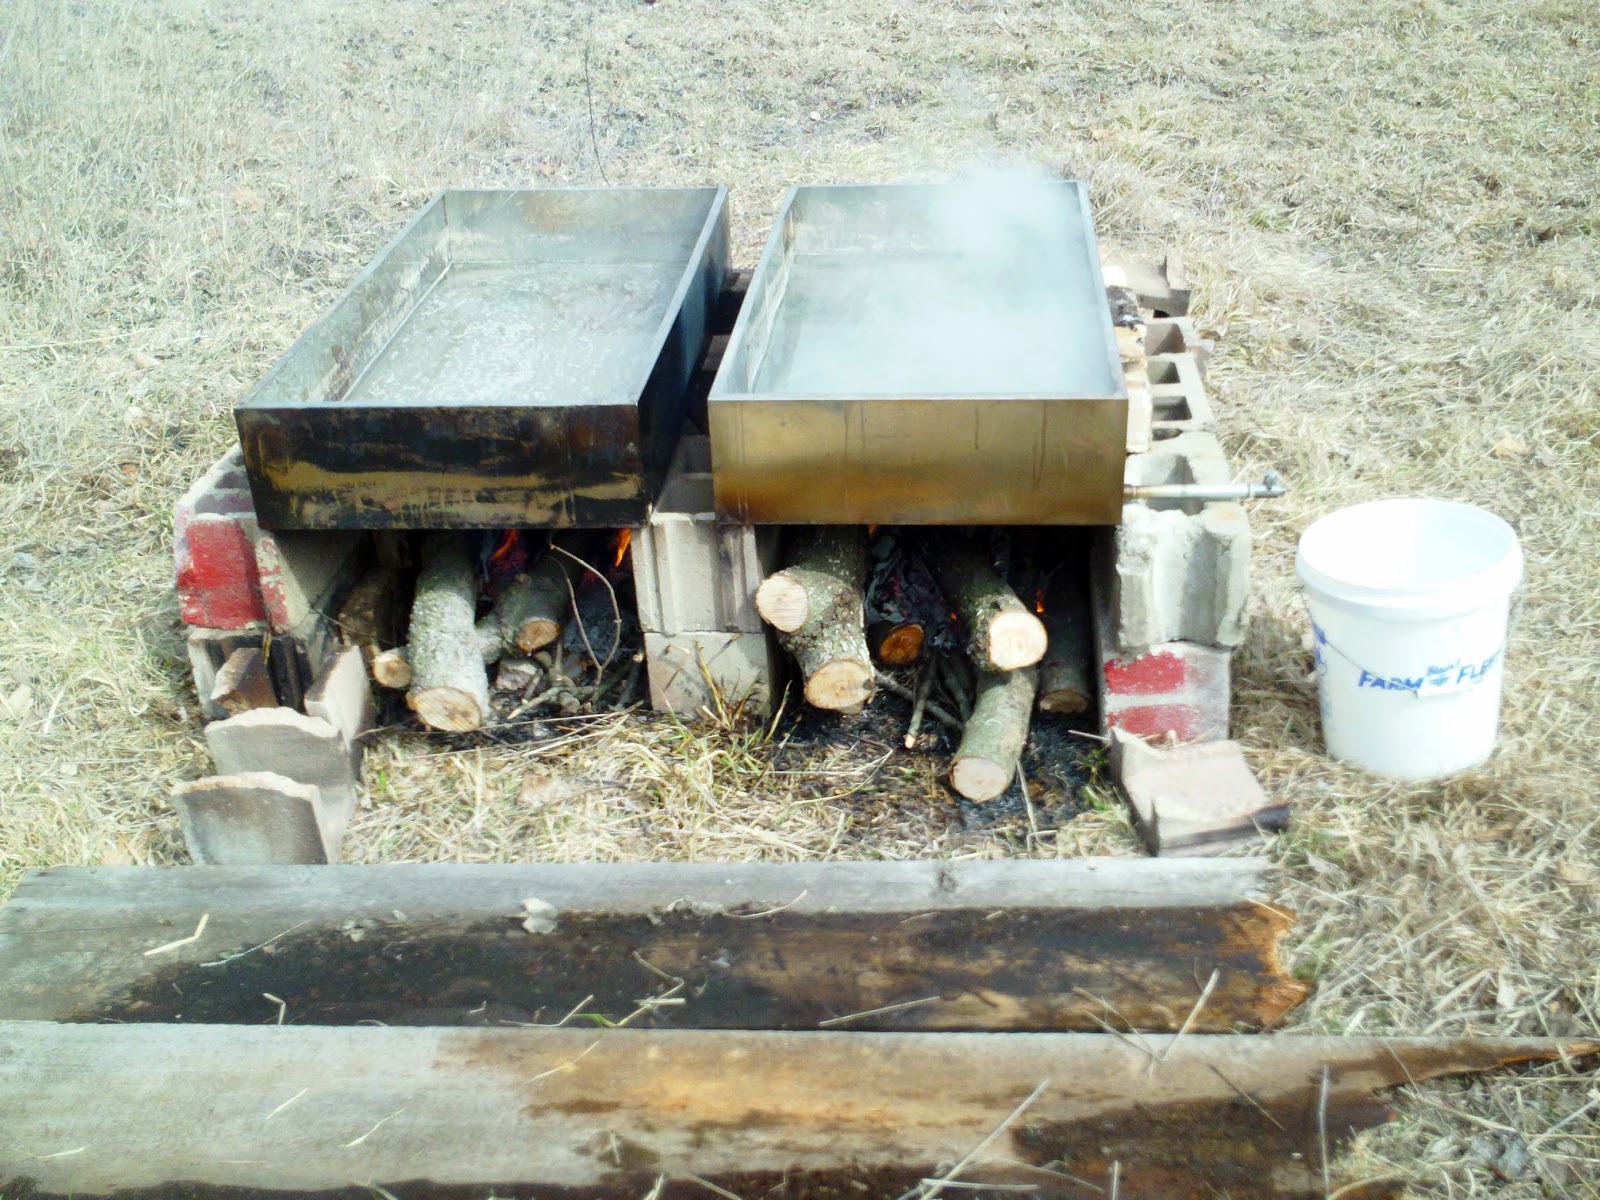
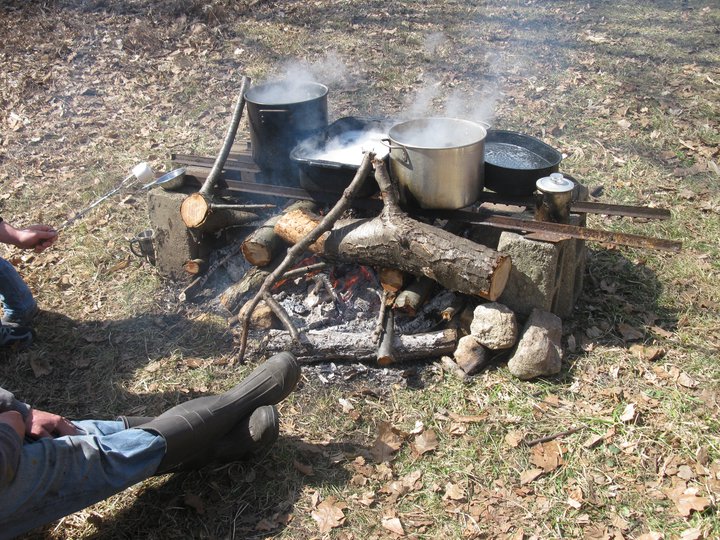
When you’re done boil it!! You will be boiling 25+ gallons down to 1 gallon of syrup so the more pots the better
or you could get a Really big pan like this.
Some people ask if you add sugar!? I will politely say NO!!!!!! Plants make sugar and this sugar is from the trees. You remove water. So to be perfectly clear. There is only one ingredient to make maple syrup. Tree Sap!

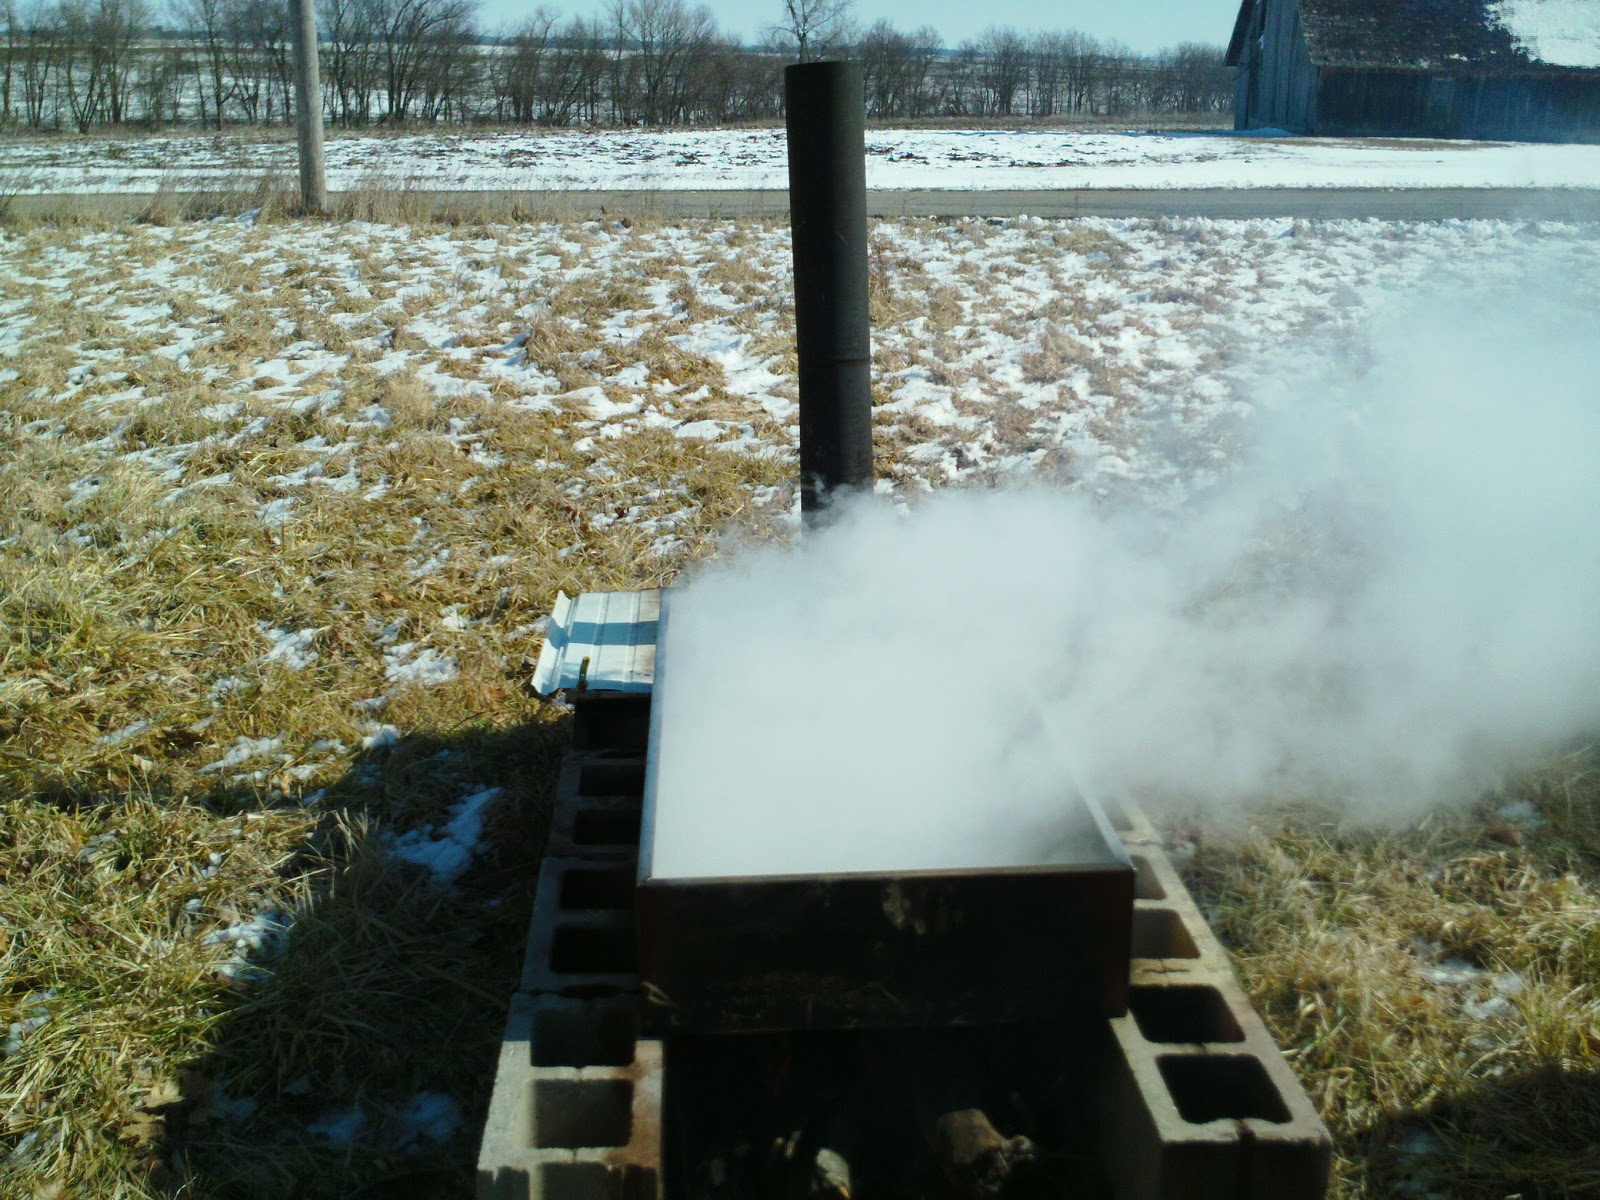
This is a 2×4 ft stainless pan. The main advantage is I can walk away without worrying about it burning. I boil syrup all day and sometimes fill the pans all the way, stoke the fire, and come back the next morning. For maple sugaring, you don’t have to watch too much until the last 15 minutes or so. That’s when your syrup could get burned and you’ll ruin all your hard work! Also you do have to watch for small fires starting near your camp fire The large surface area of the big pan allows the most water to escape much better than little pans. Also this big one has so much in it, it takes forever to become really syrupy and by then, I have it in a special pan on the stove.
The old fahoned way for Spiles
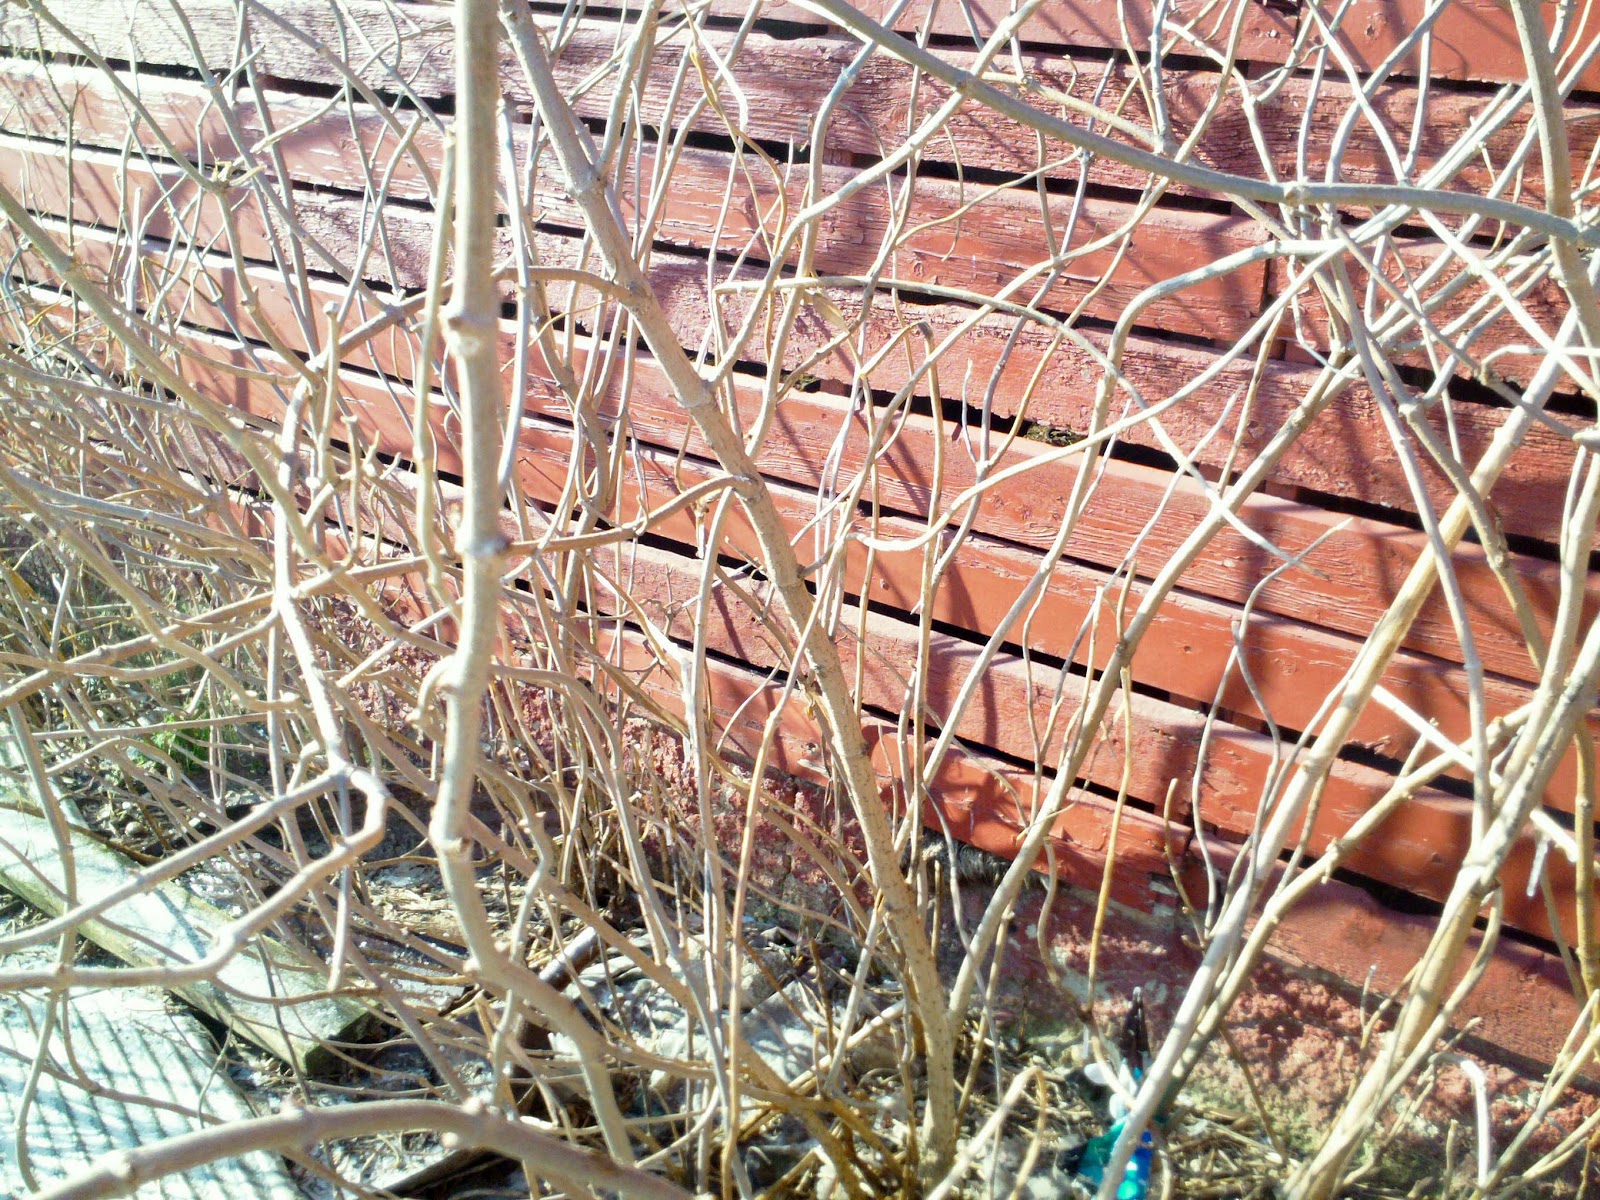
Here’s that elderberry growin by my barn. Warning! You better be sure of your plants before you do this!
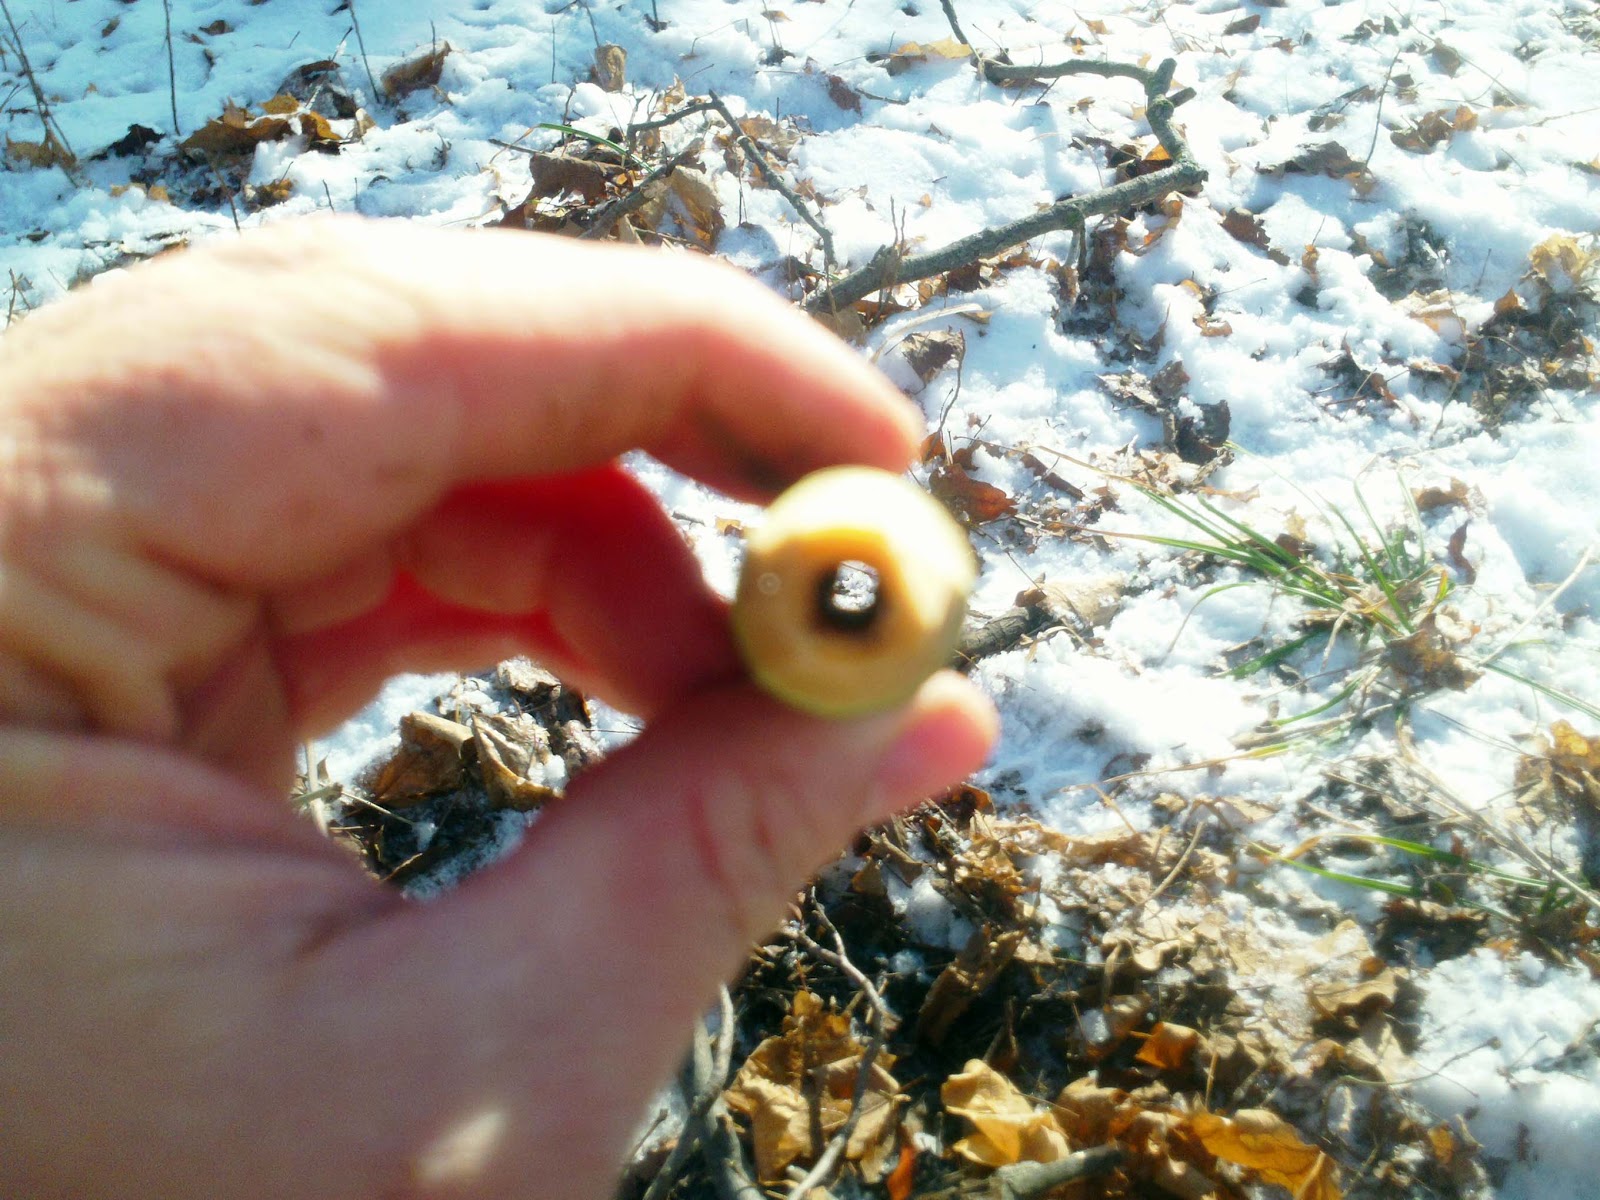
Elderberry has hollow pithey stems.
So just cut a piece and poke the pith out. Taper the ends and put in your maple. Works just fine.
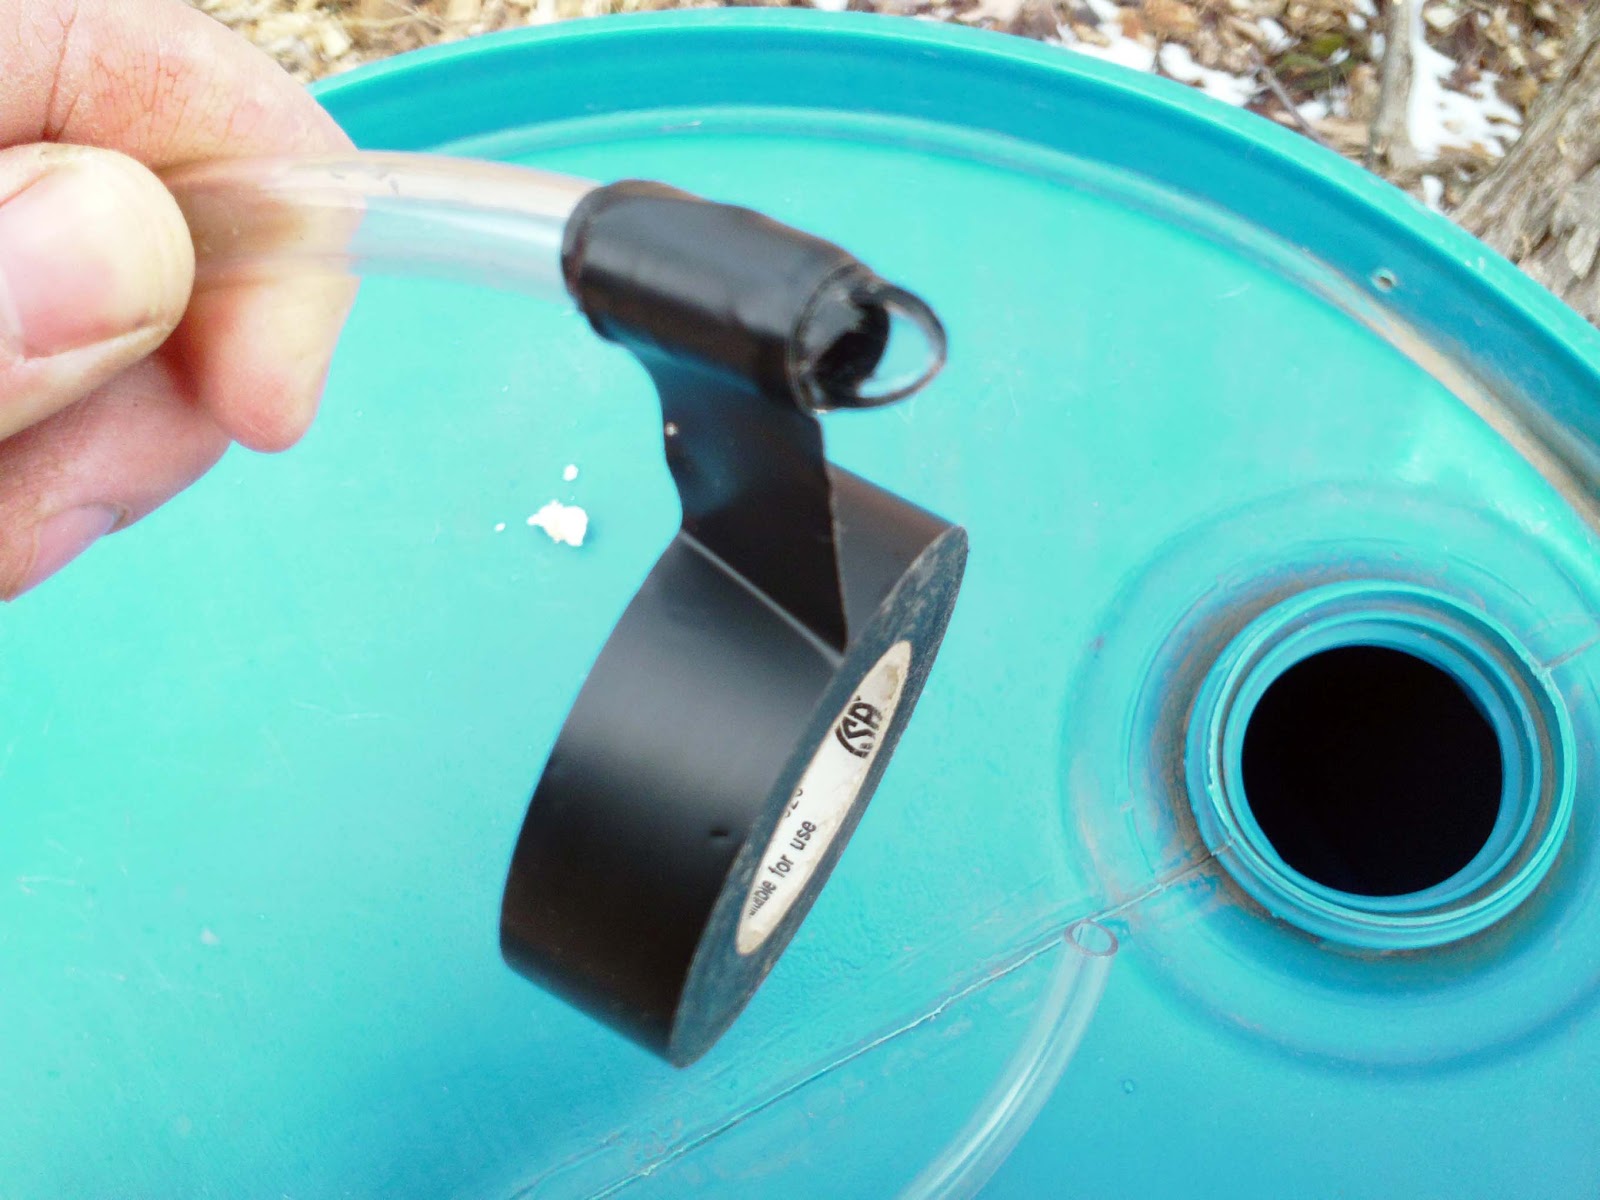
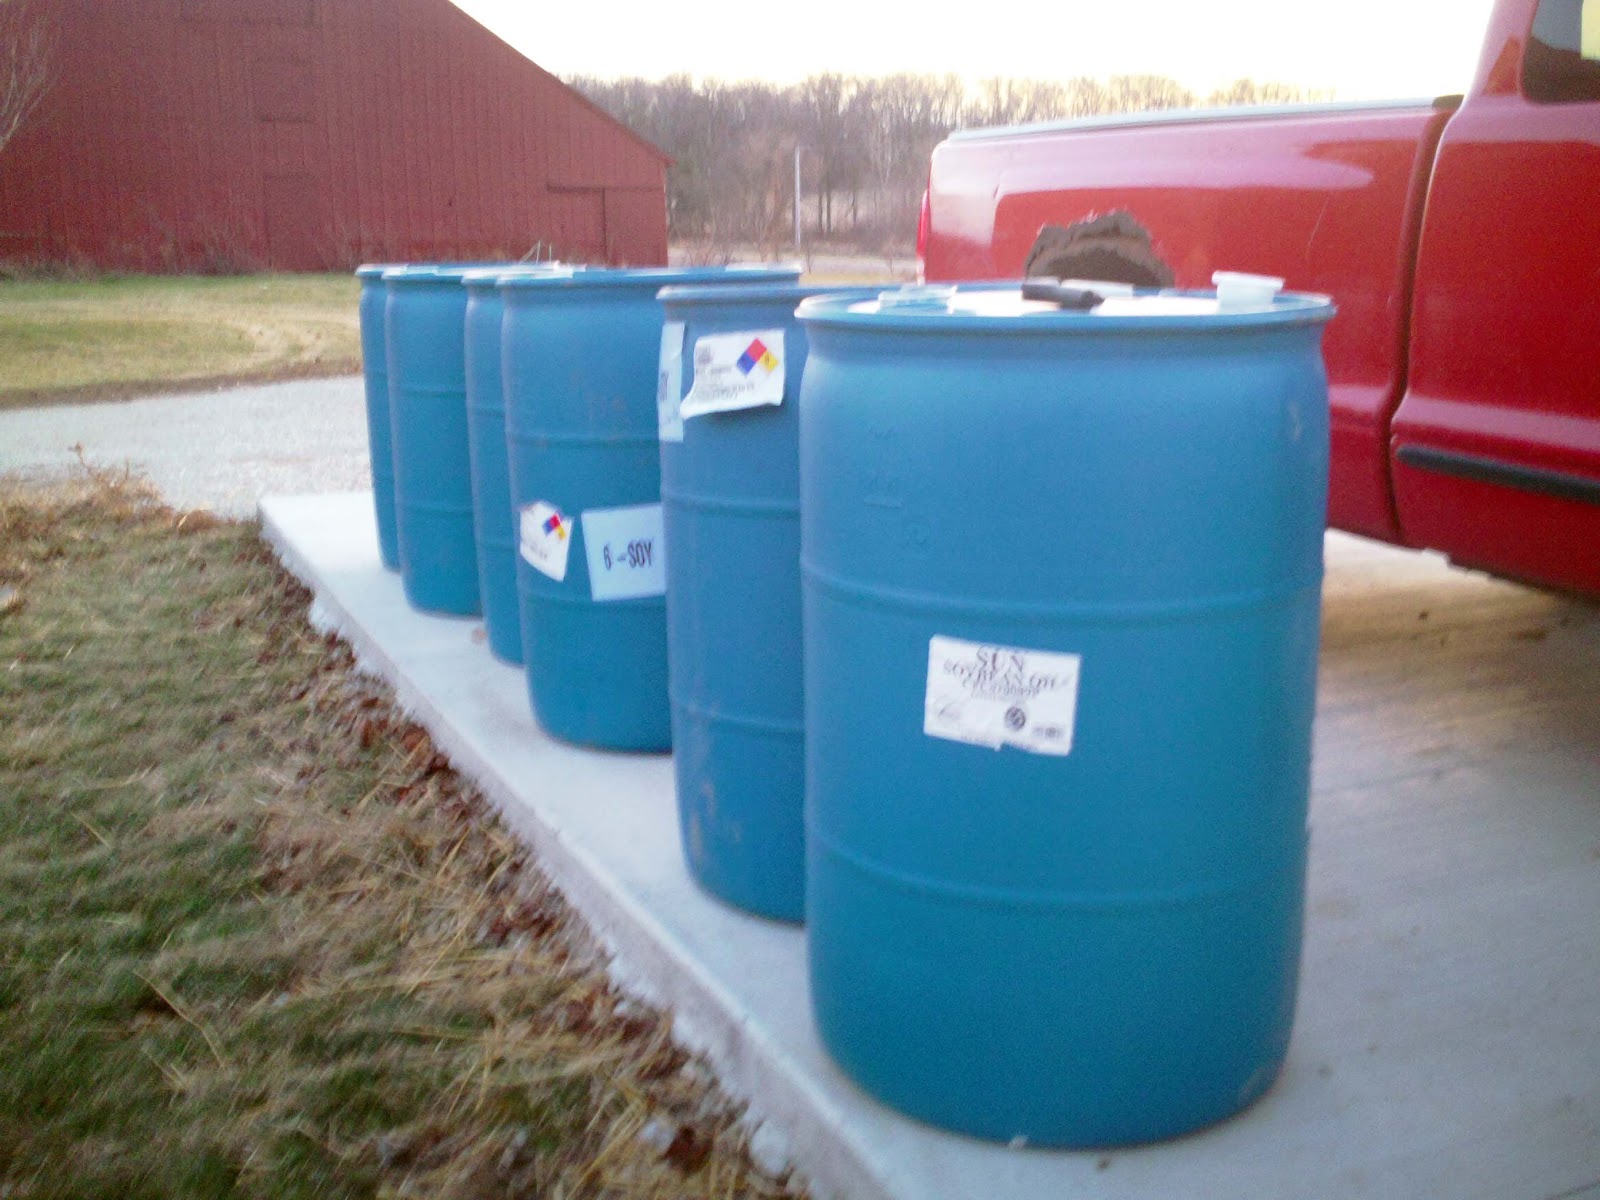
If you want to be real lazy you can get a big food grade barrel for10 bucks off some guy you find on craigslist. For just a couple big maple trees you can just rest the barrel under them. However for many 1 ft or less diameter trees I use the barrels as stores for the 5 gallon buckets
If you don’t have a barrel that is food grade, you can use any container that is food grade. Some people use 2 liter pop bottles or 5 gal water jugs etc.
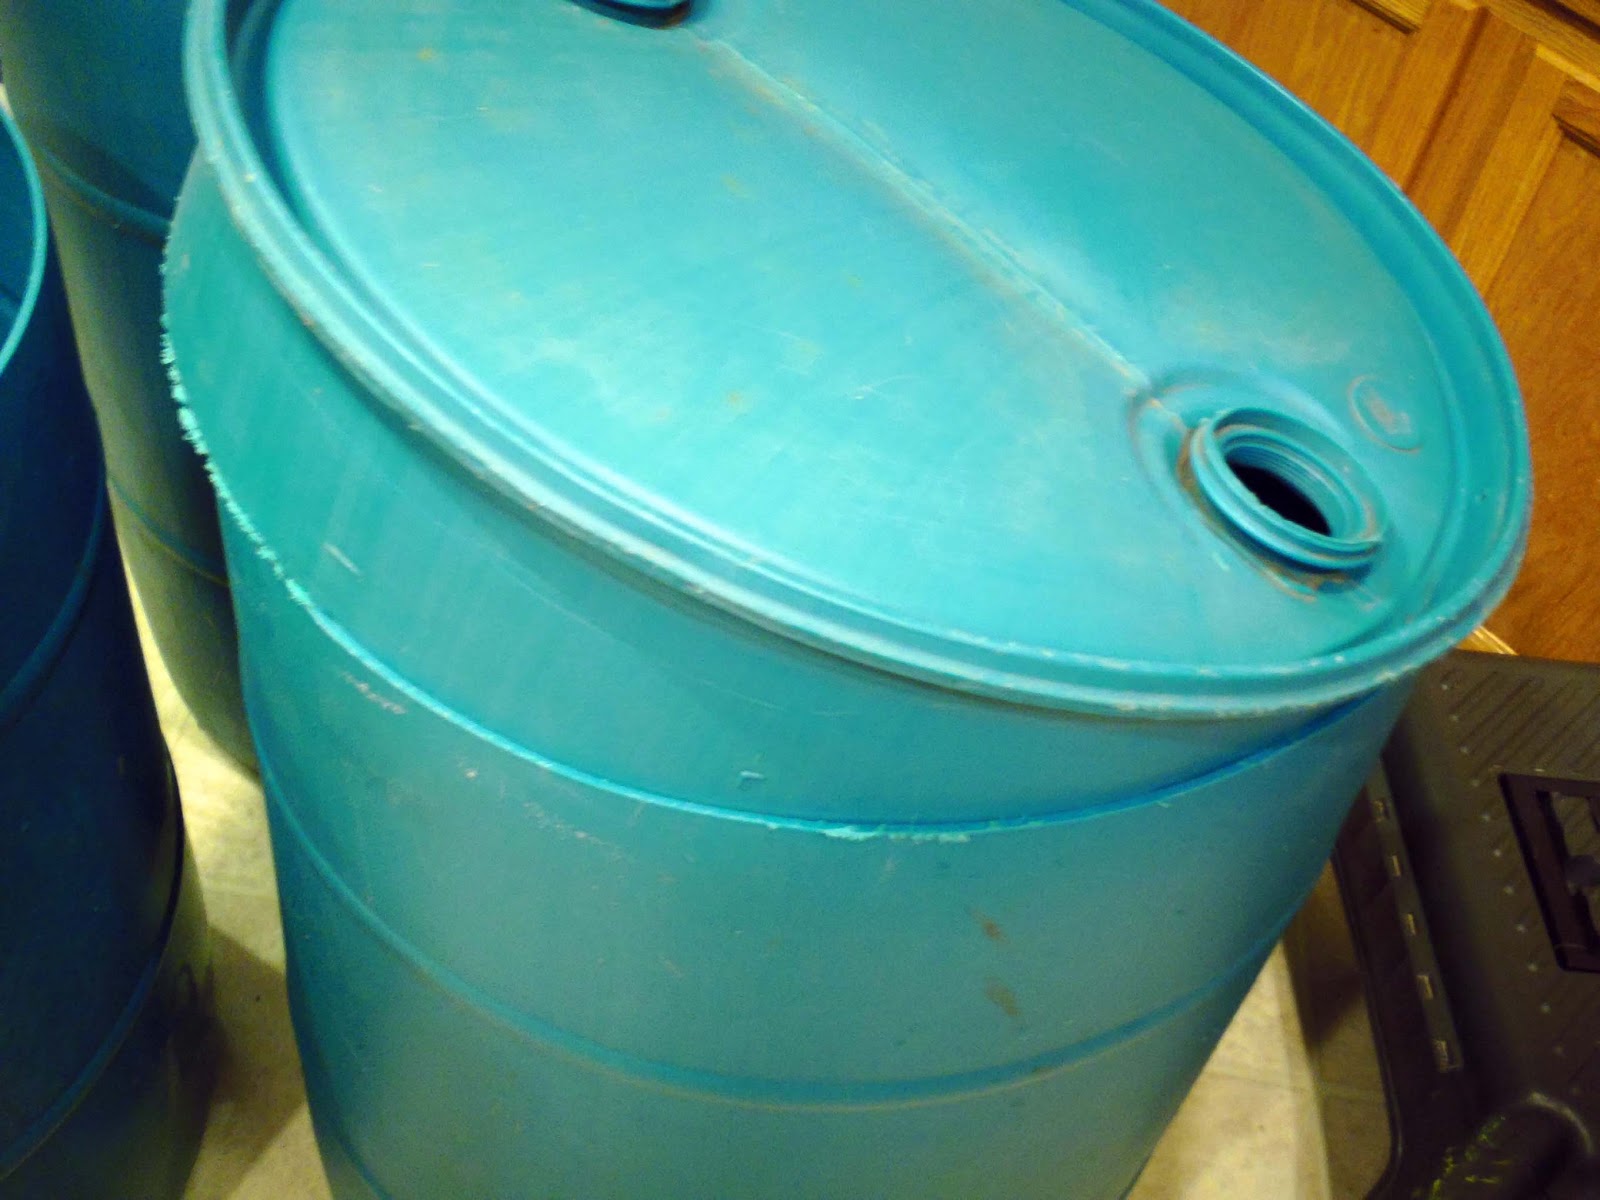
They don’t have a removable lid though so you’ll have to cut it off and then do this.
I like the simple cut but I did do a couple that fit as below.
It fits right back on, keeps out the rain, ad you’ve got plenty of places to stick the tubes in.
Here’s a couple of them set up
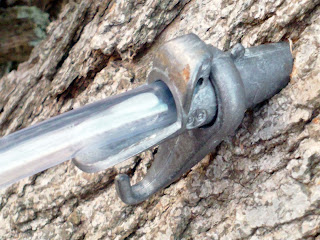
Here’s how I hook the tube up to a the spiles
 The wood one falls off more frequently, I’m going to have to wittle it down more and I’m sure it will be fine
You just shove the redneck one in there and if it doesnt fit add more tape.
Any way you do it you just have to get the sap in here and then to the pans.
I will post soon my current outlay of barrels and buckets soon.
To boil the sap you want as big as pans as you can get!
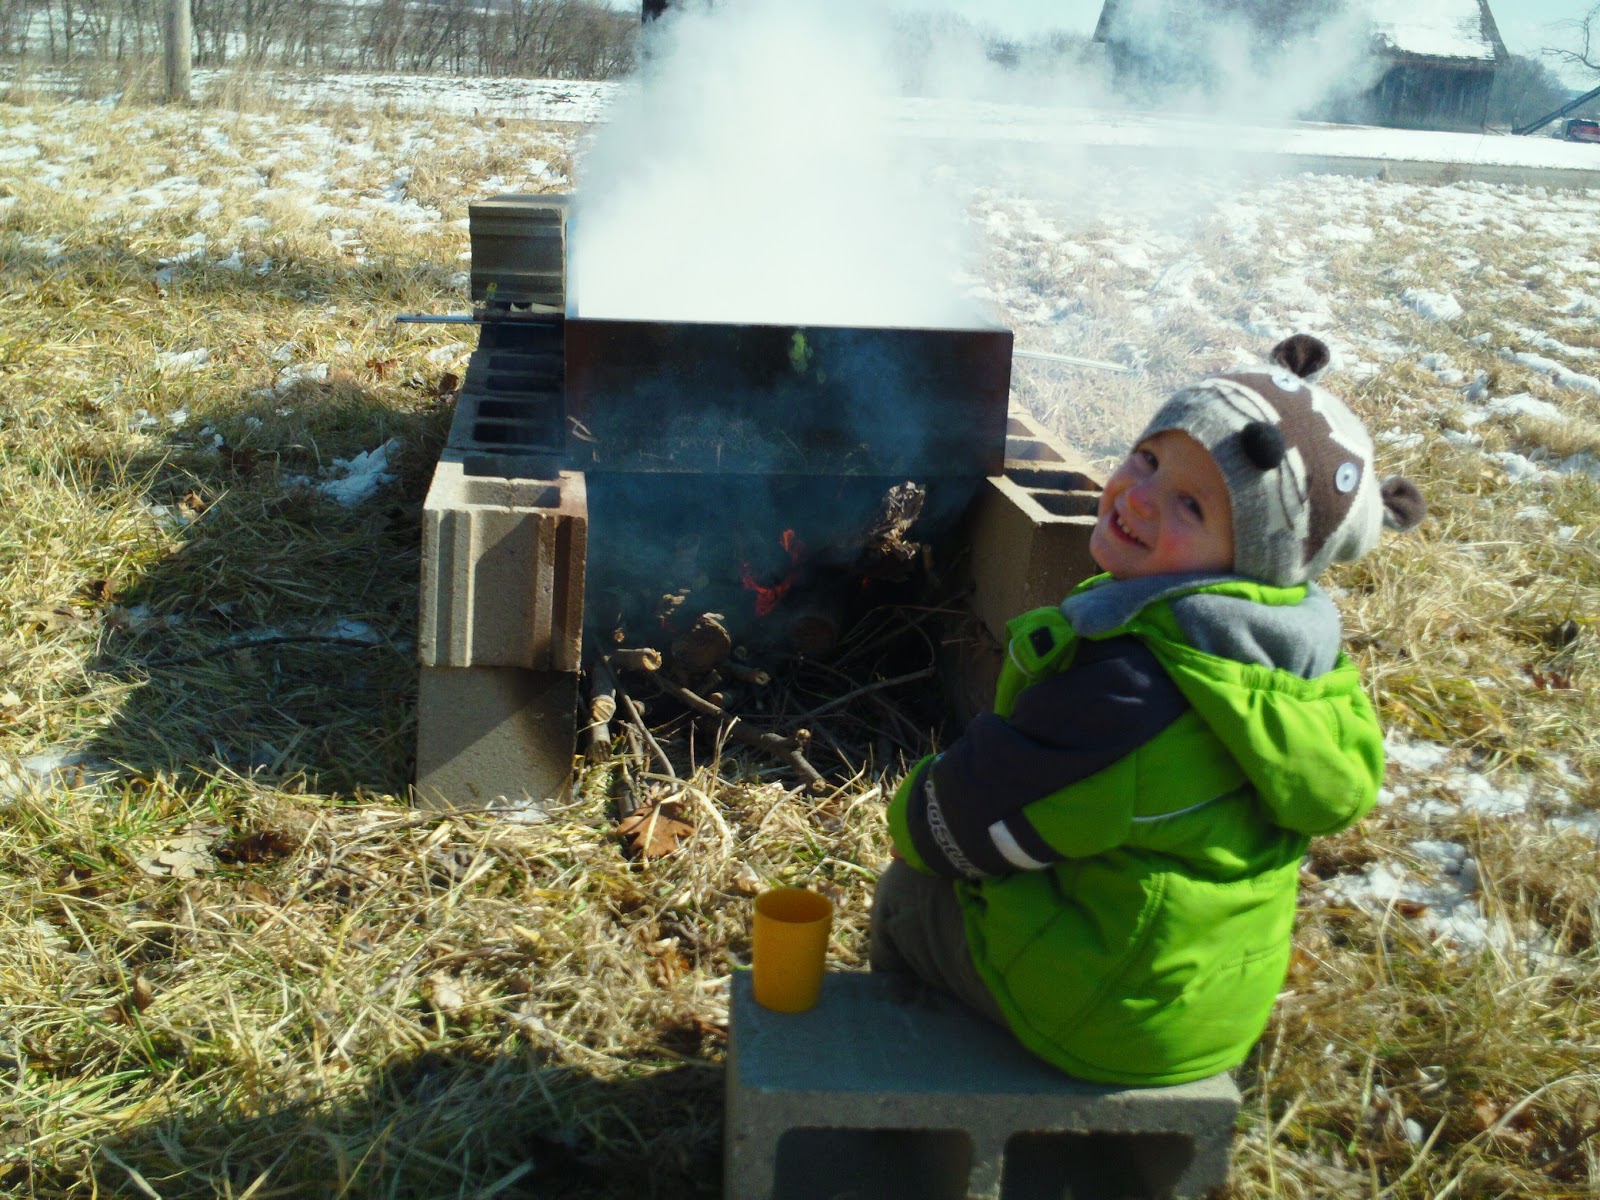
Here’s my most recent set up
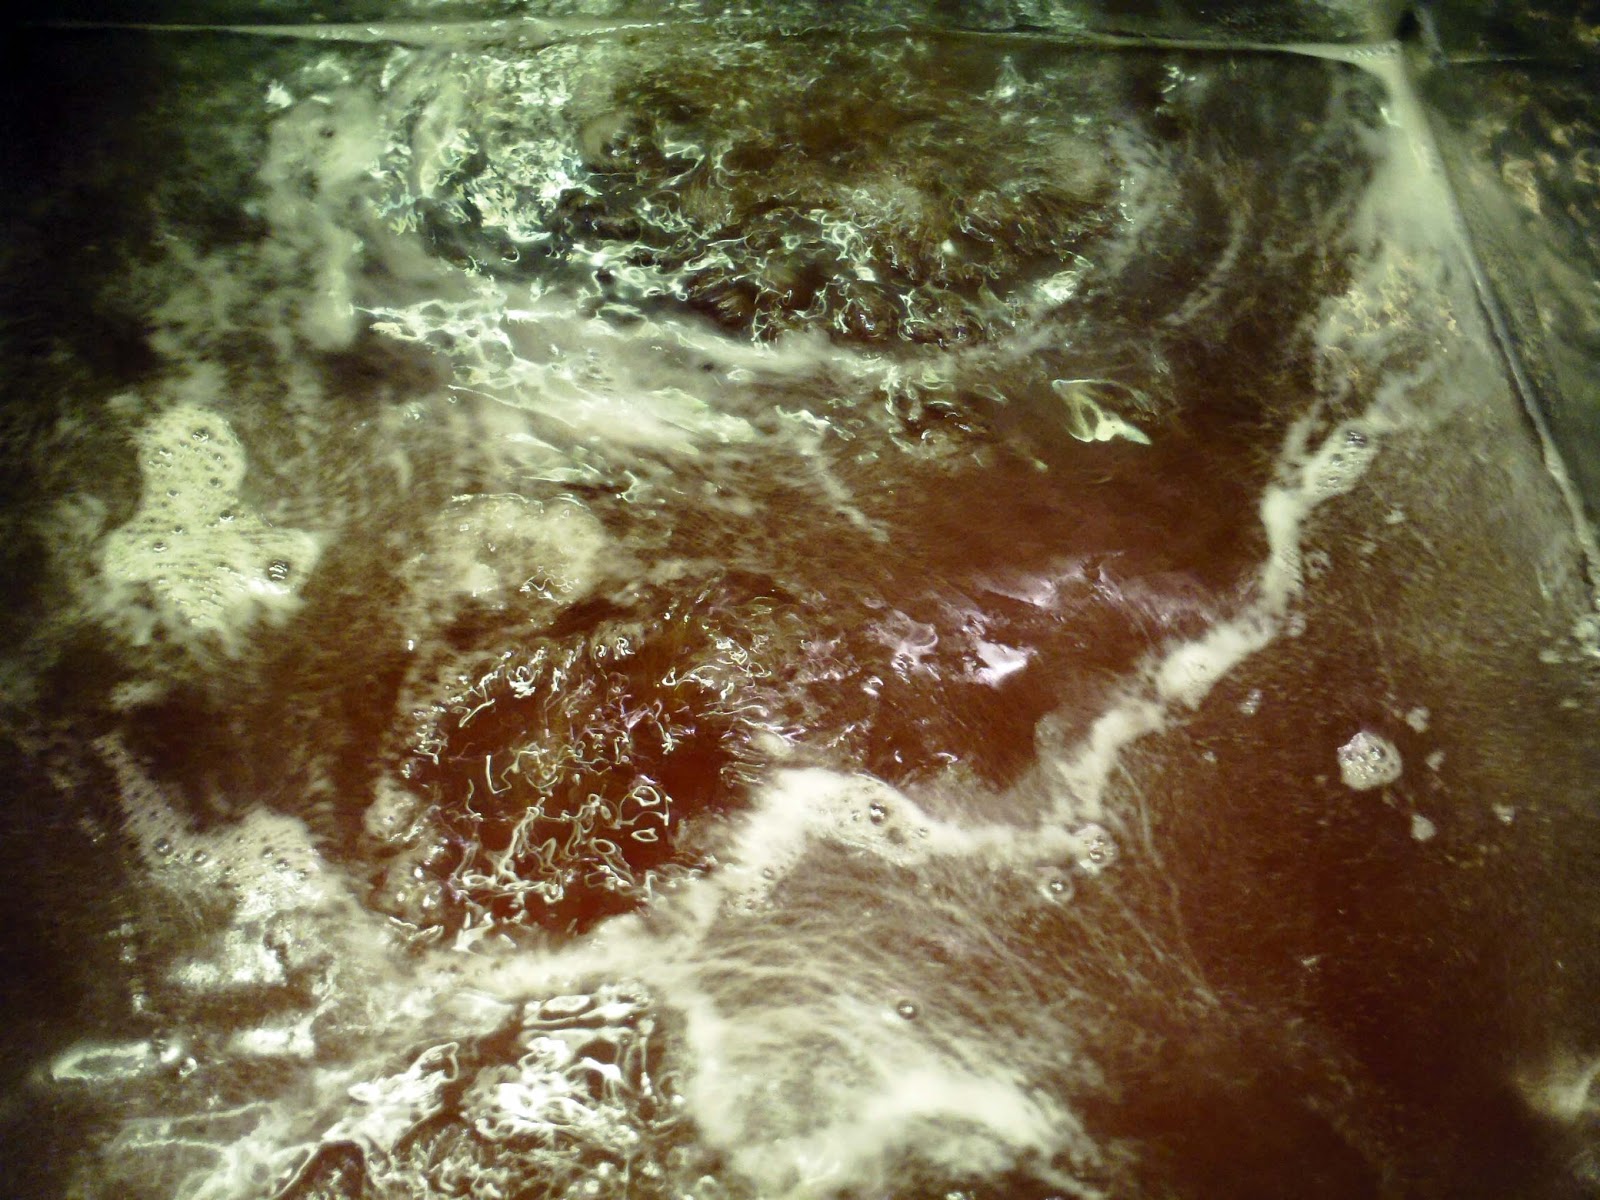
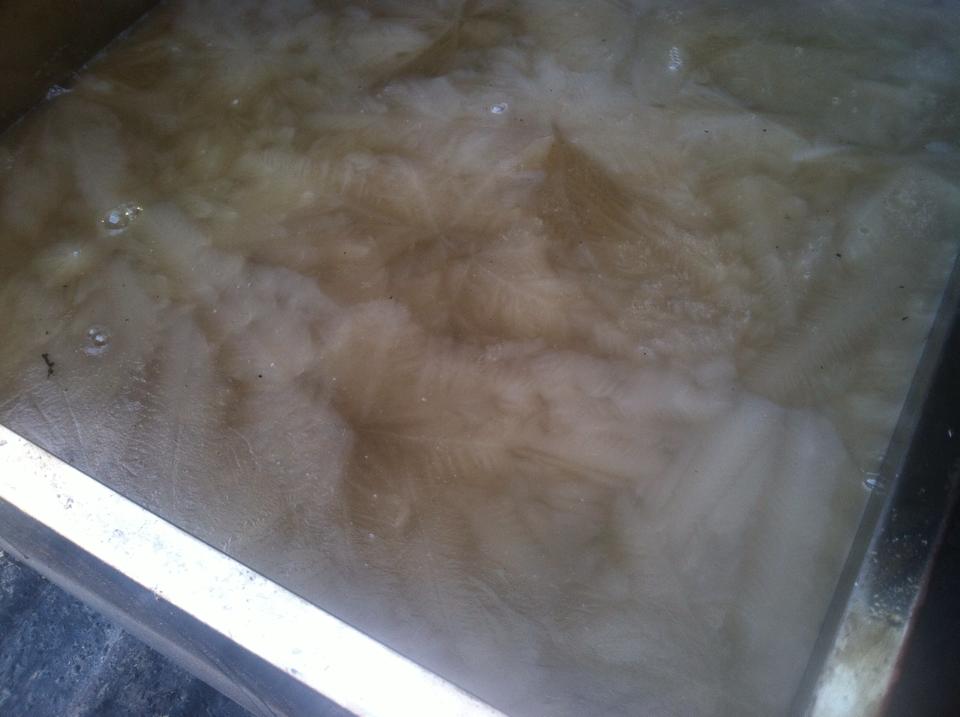
So how do you know when it’s done? First you will start seeing plates of sugar on top like in this pic. Also note that you have to really start watching at this point. I usually transfer to a smaller pan when I notice it’s really strong and sweet.
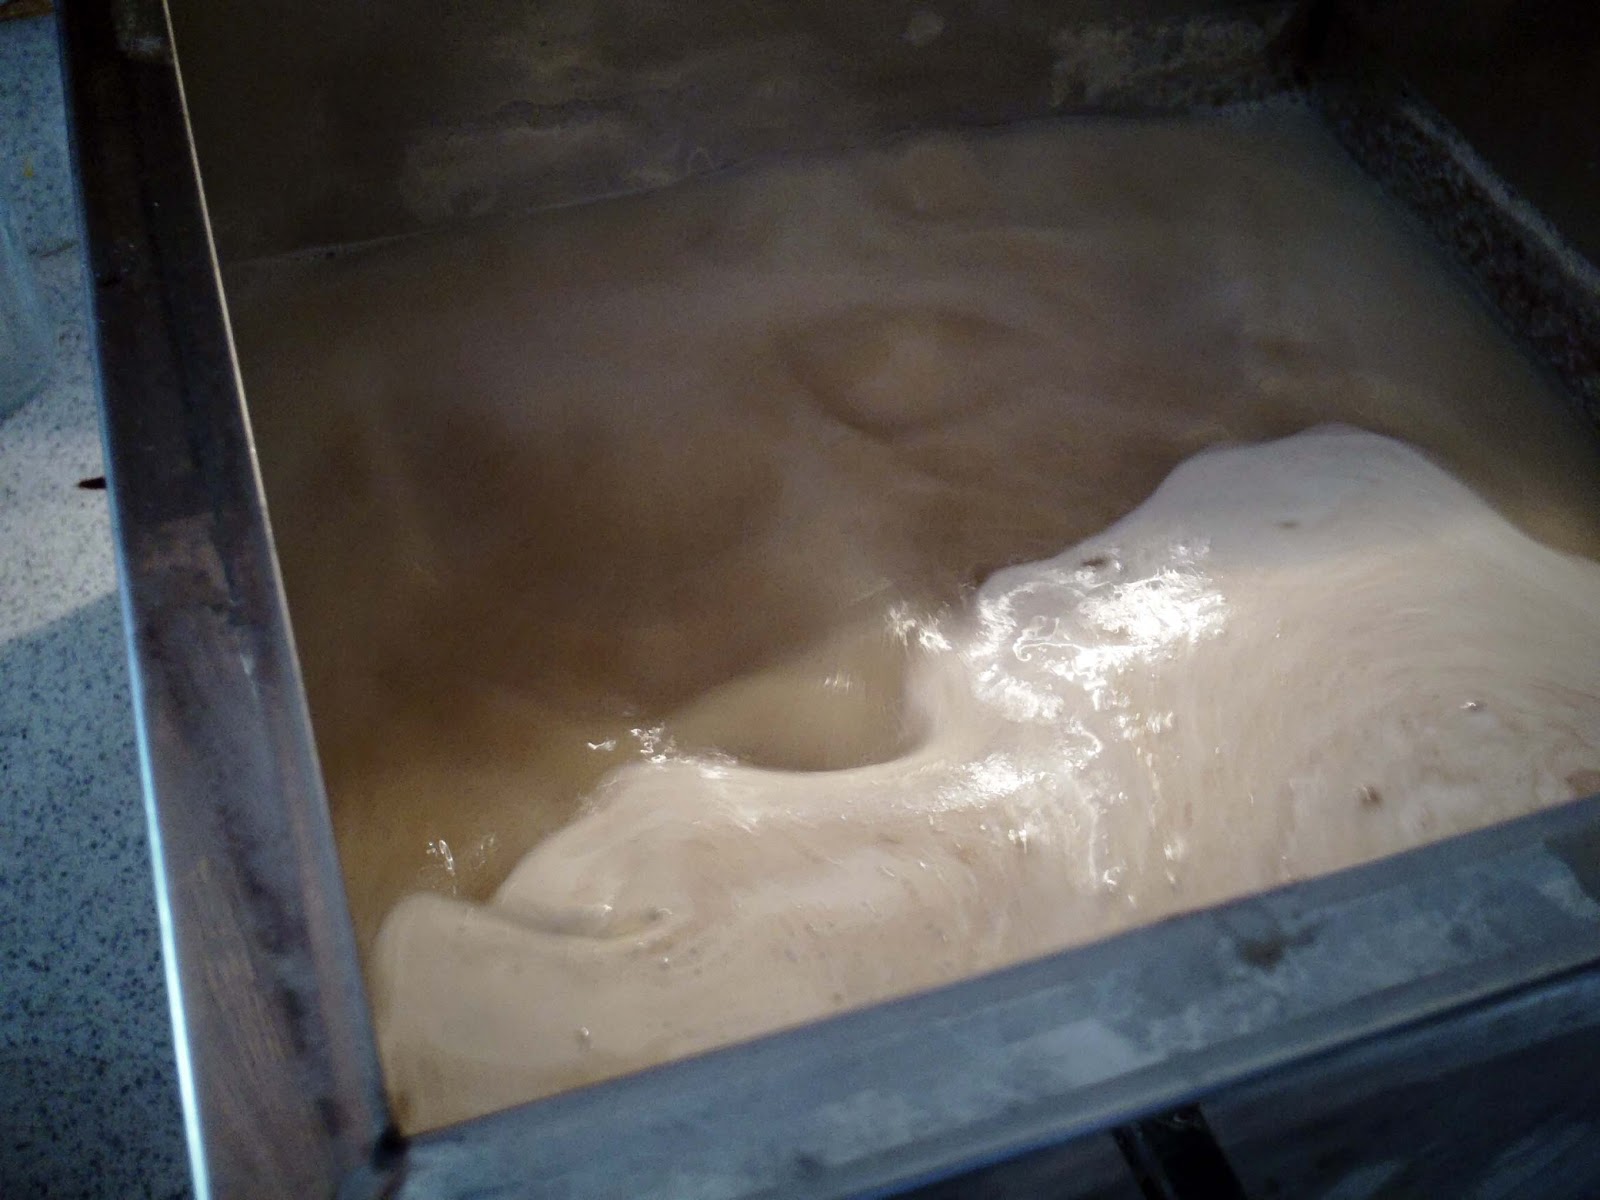
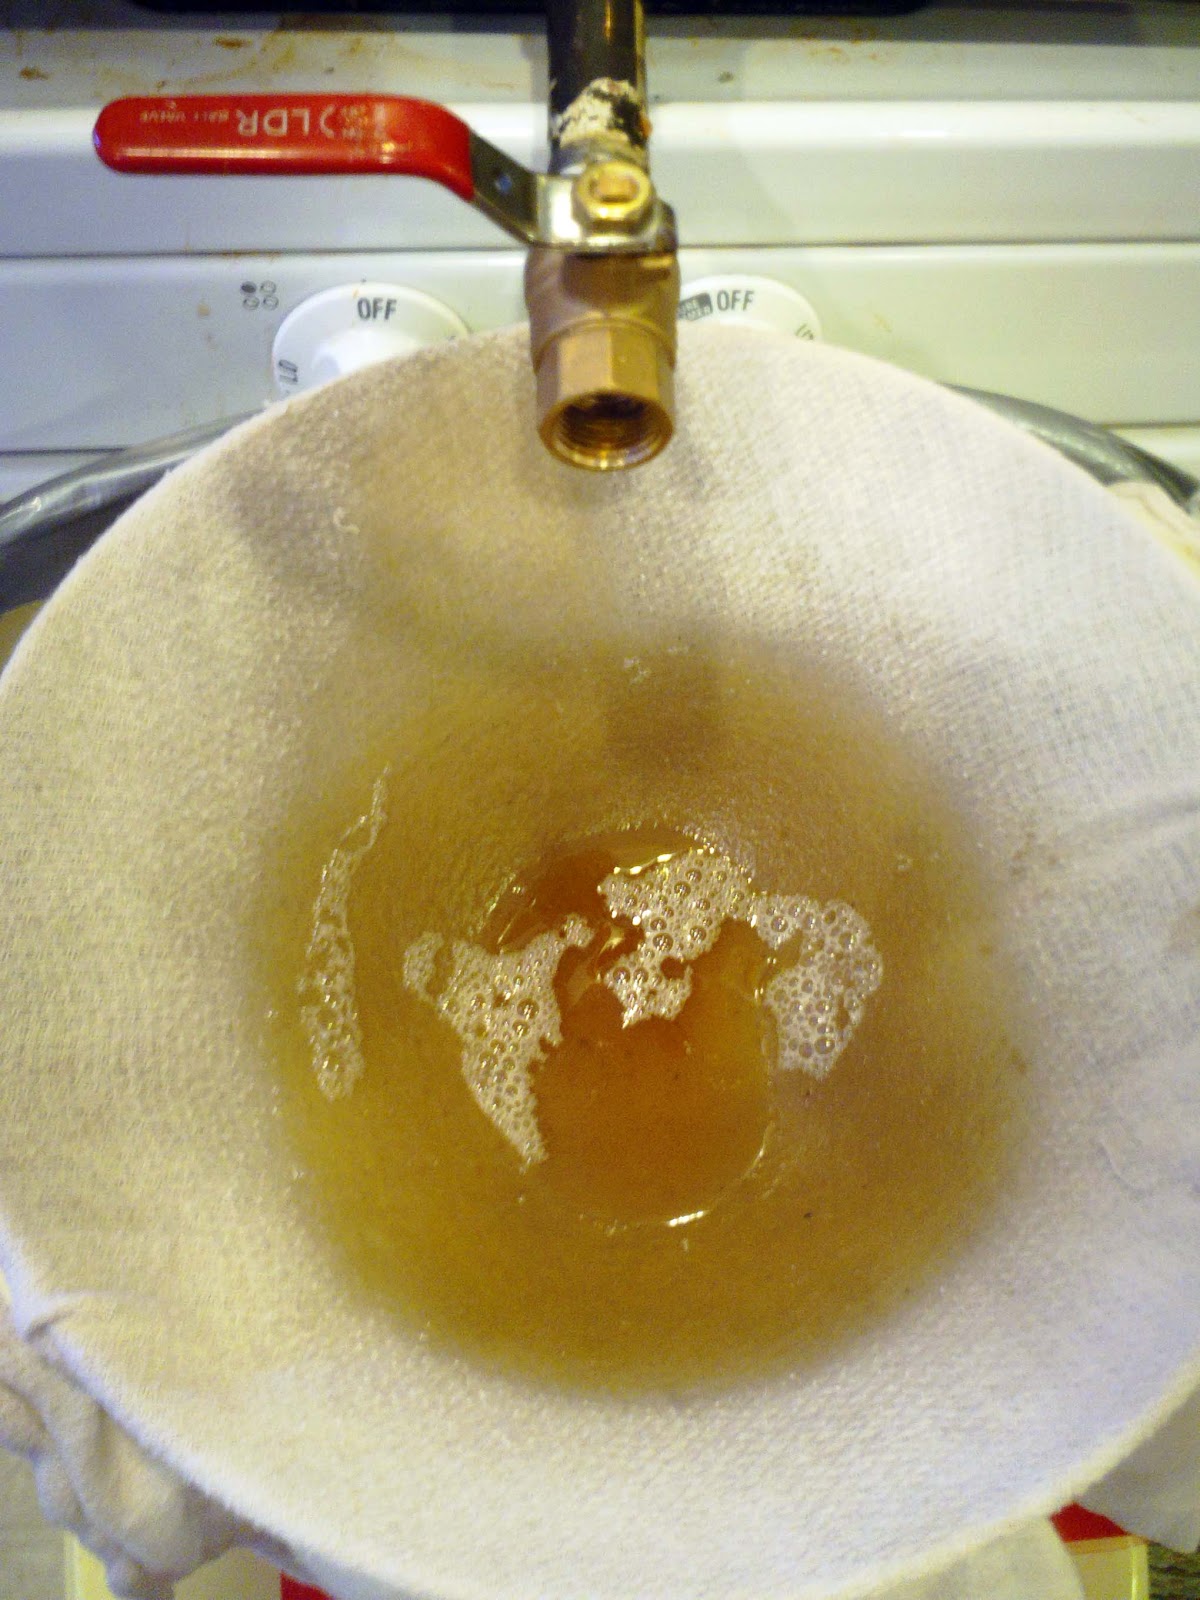
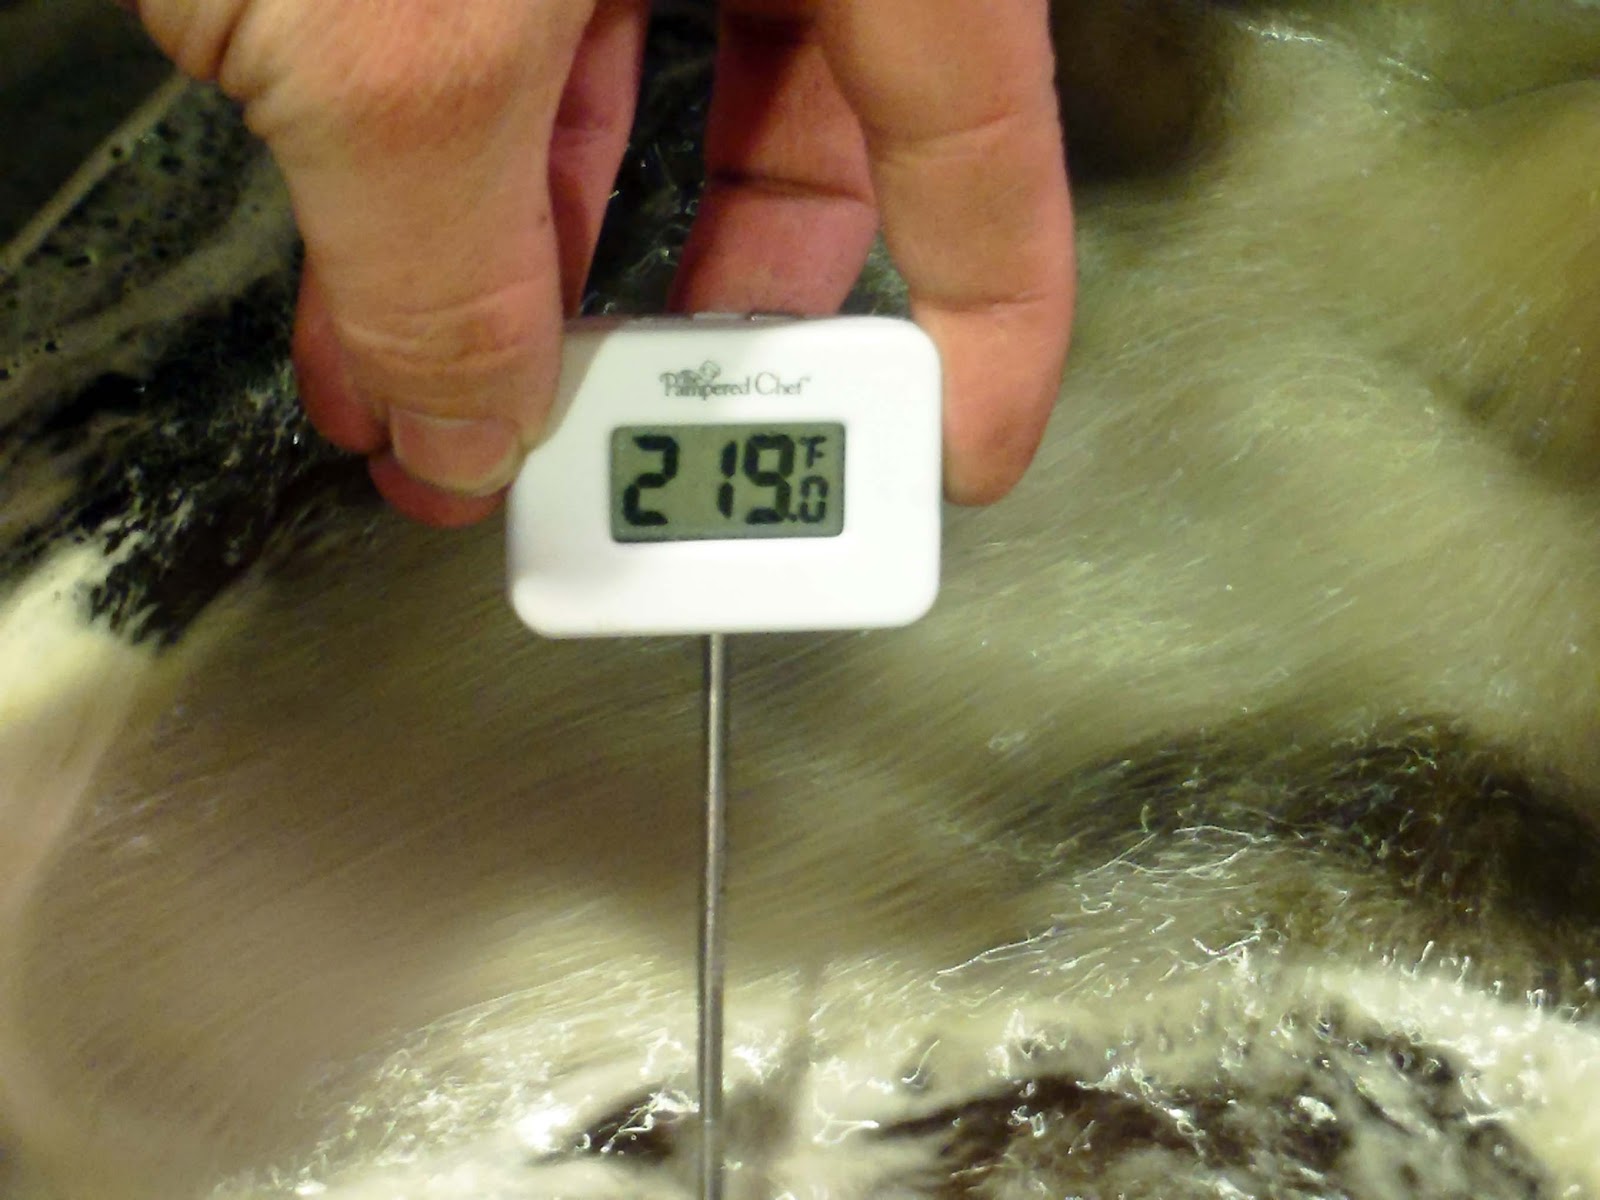
Here’s what it boils like when It’s almost done. It will climb the walls of your finising pan and it will spill everywhere and make a mess. Before I used a thermometer, I would just bring it to this point, lower the heat, and boil a minute or two more. It’s also a good point to stop and filter which is optional but reccomended. Traditionally it is 7.1 degrees F above boiling or 219 F. When your thermometer reaches that temp it’s syrup.
The minerals in the syrup build up at the end and some call this sugar sand. You can filter through a variety of fabrics, but you need to do it hot because it’s syrup and you have to make sure the fabric lets things flow through good. This old cloth worked great, don’t use some wierd plastic fabric. Whool is traditional. You can see the crystals building up around the side of my liquid.
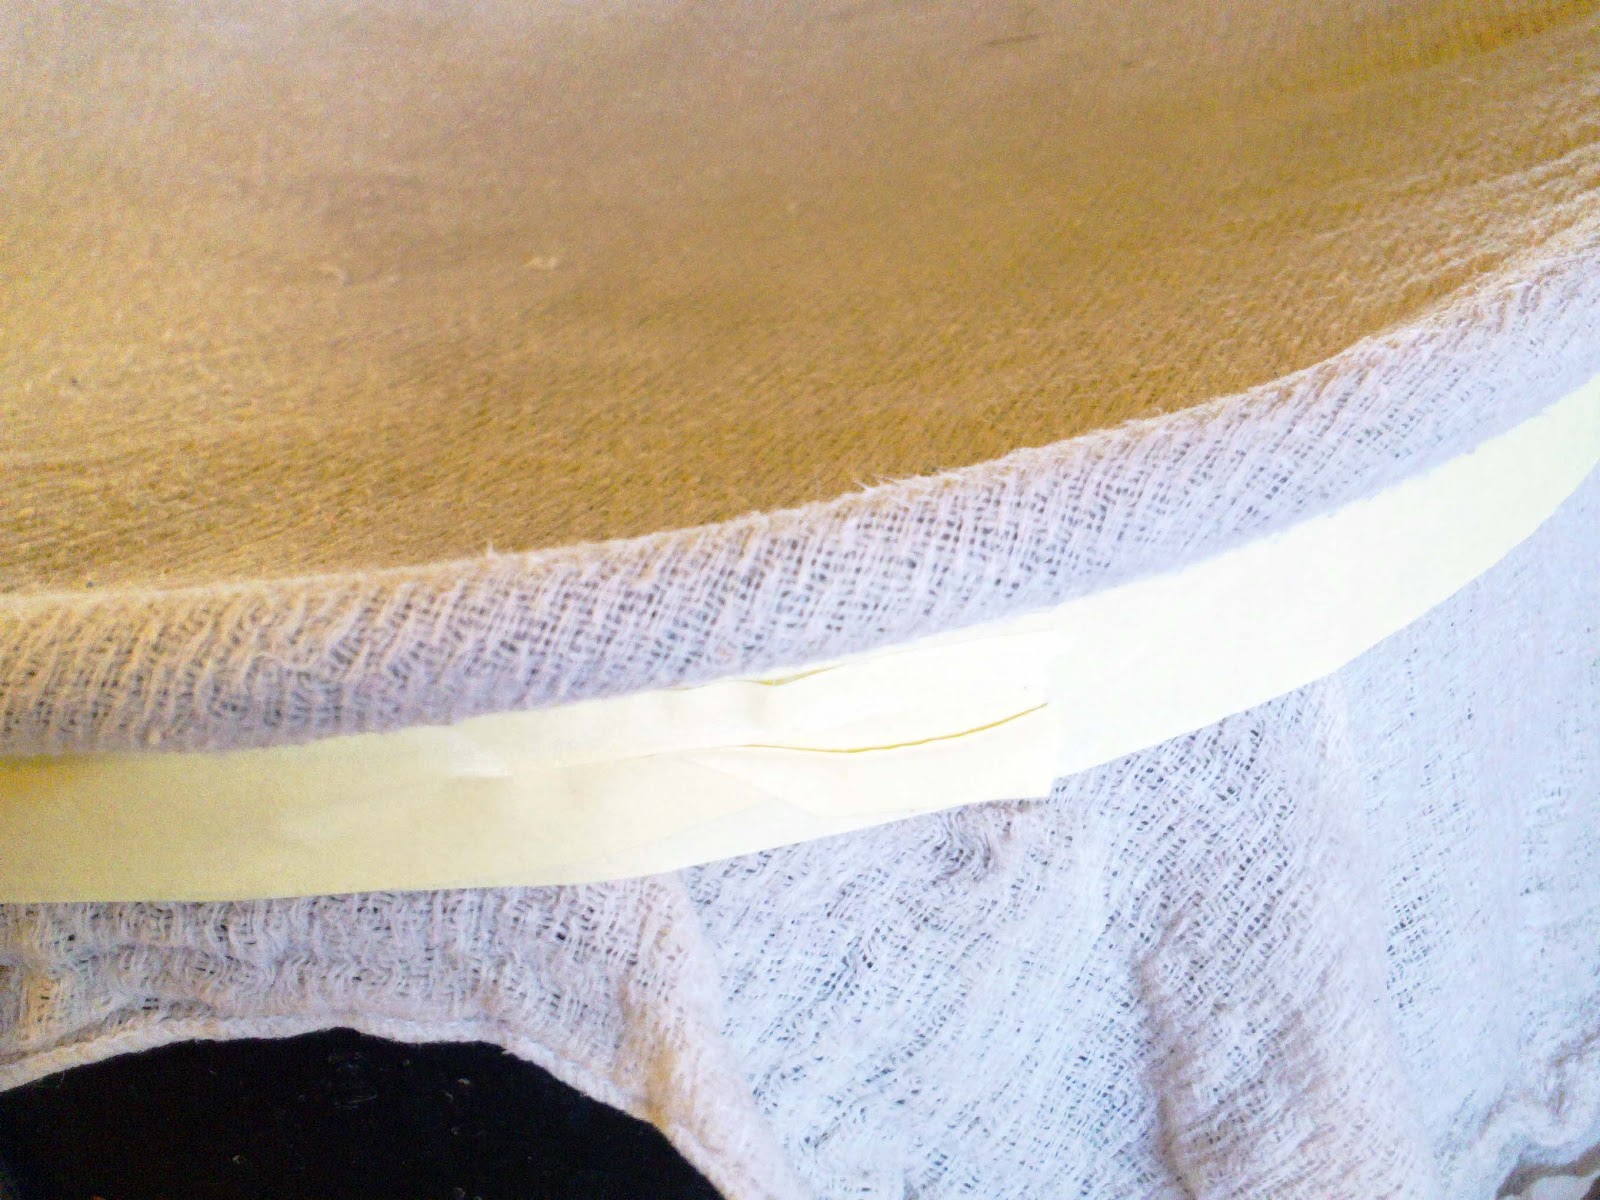
To attach my cloth I just use some masking tape below the lip of a big pot.
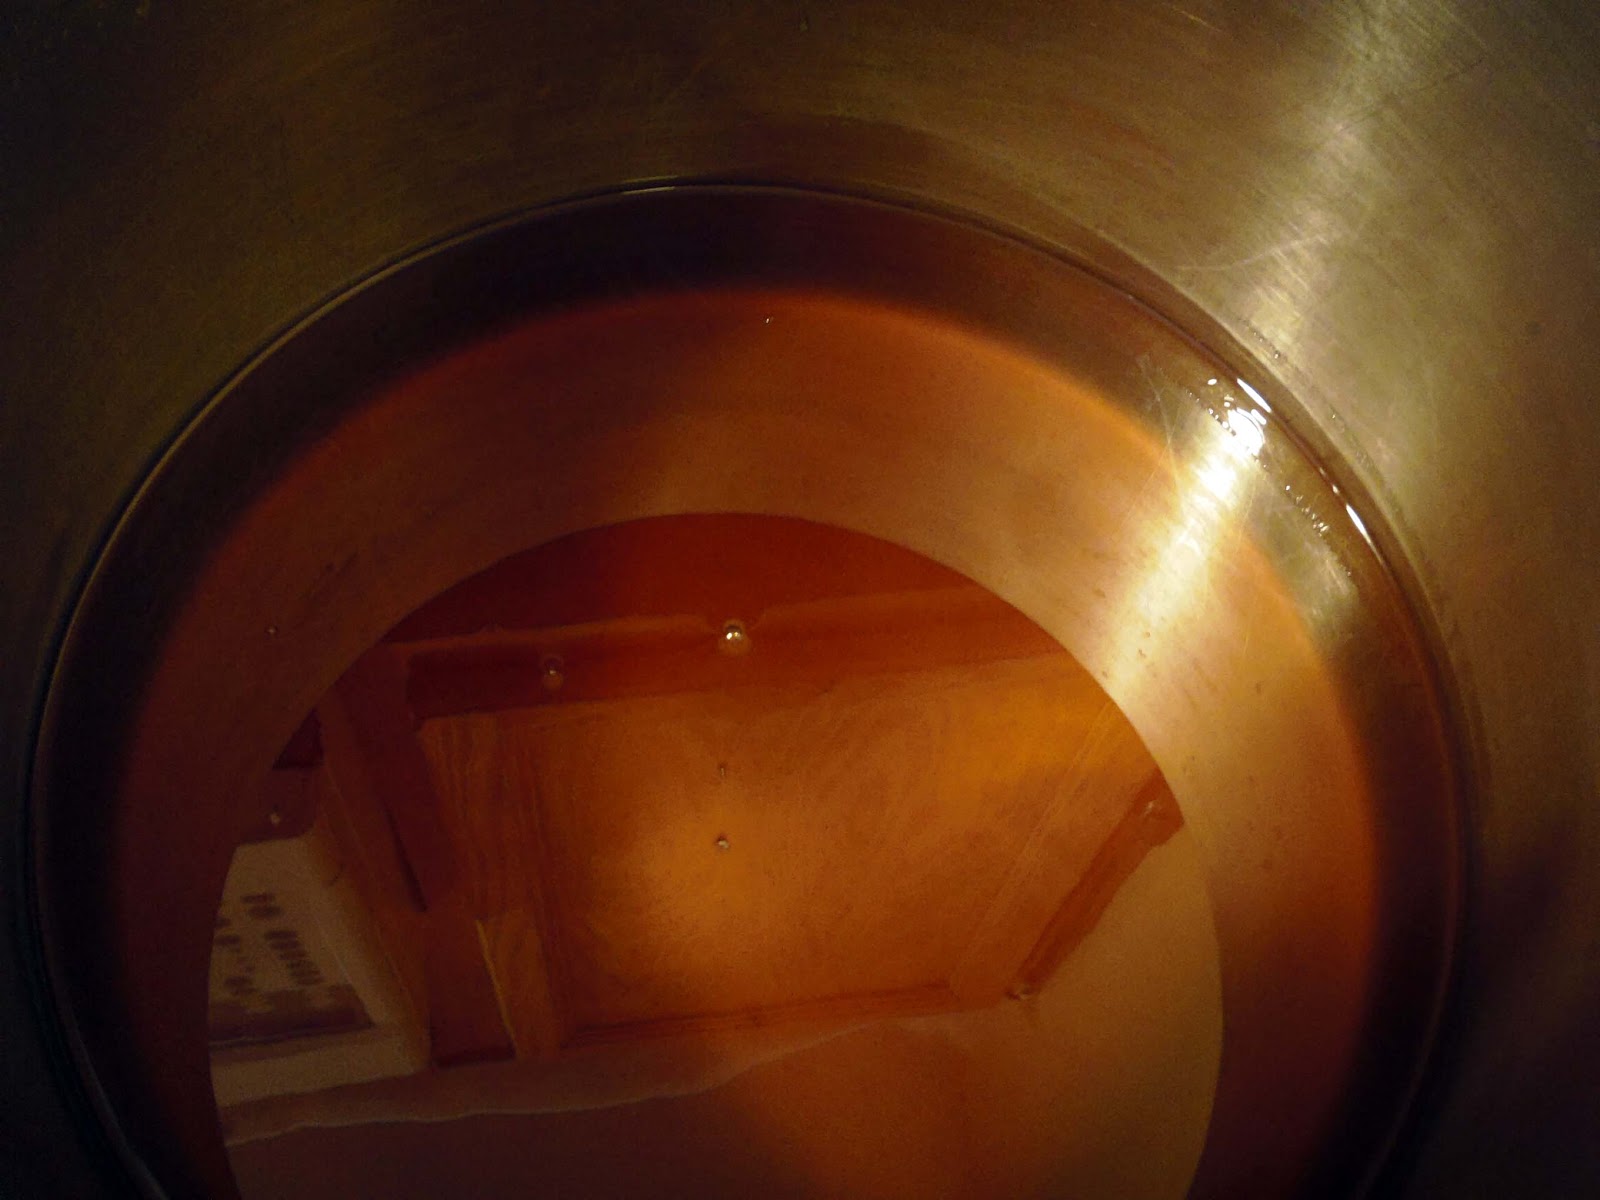
All filtered
7.1 degrees Farenheight above normal boiling point is syrup. Close enough for me.
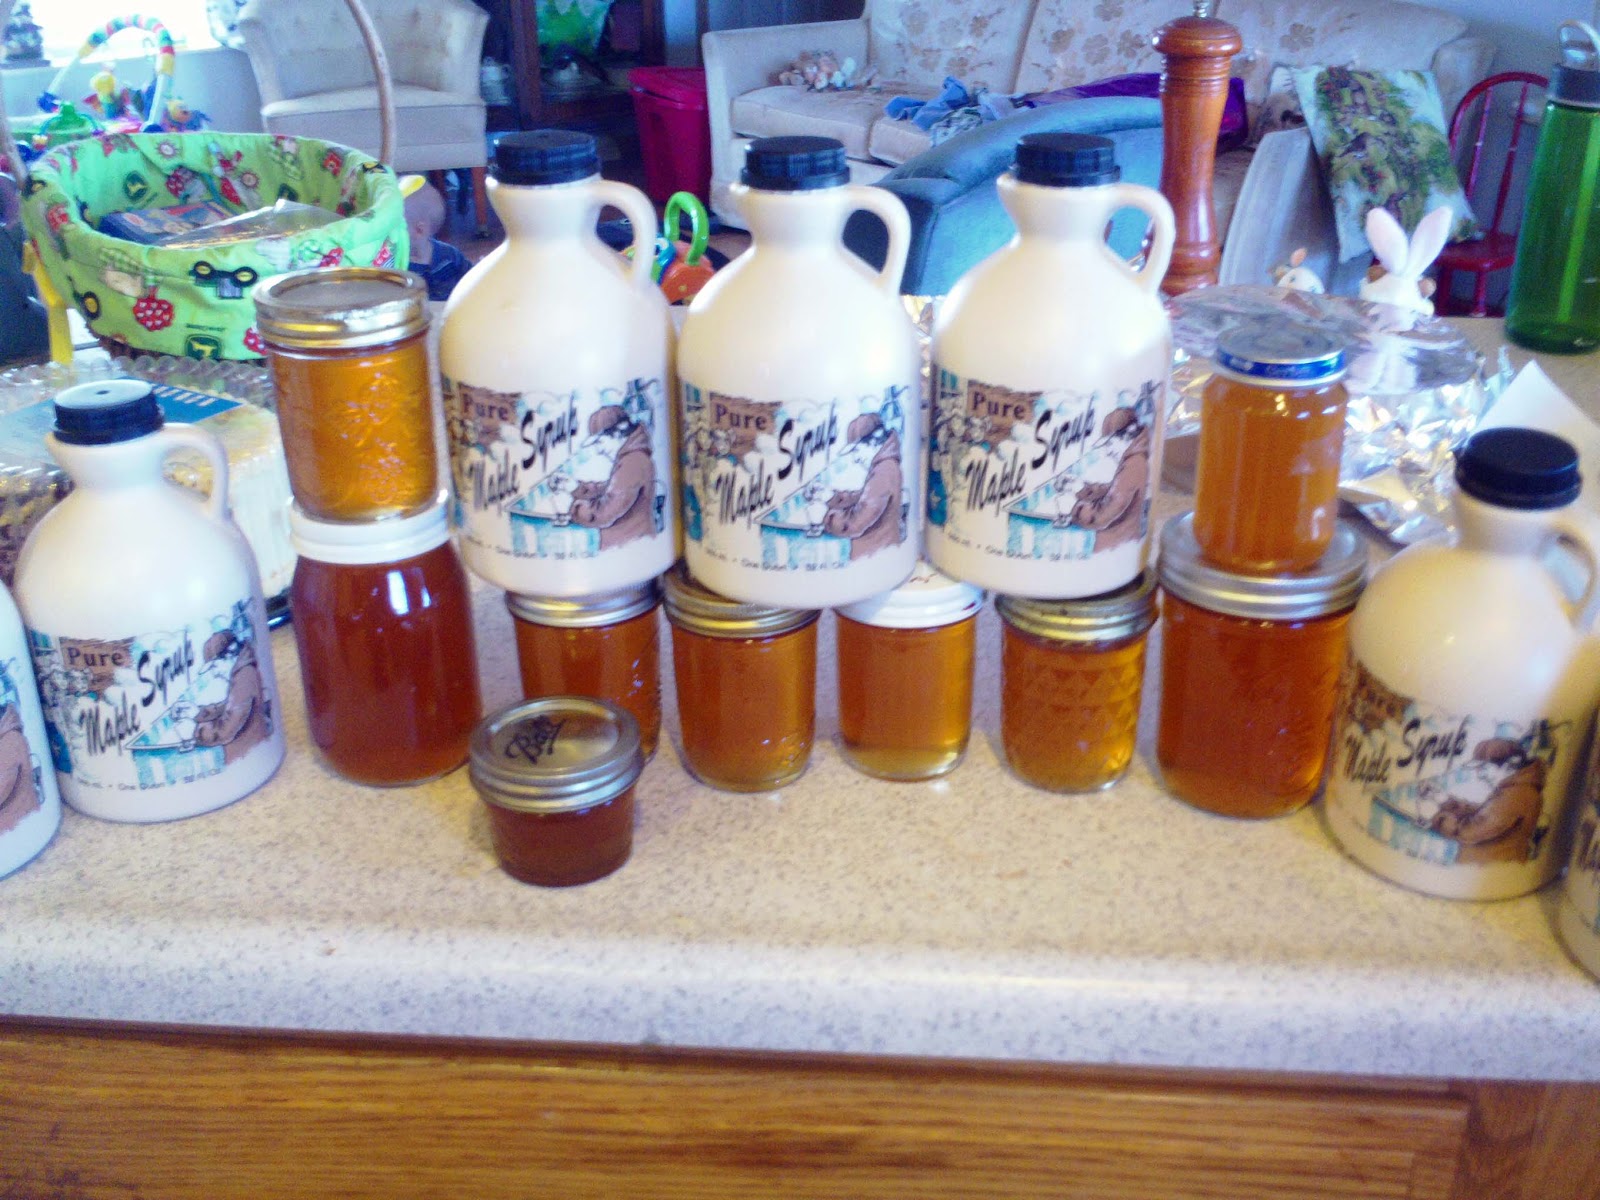
You should hot pack the syrup from boiling into syrup grade jugs, or jars. That way it’s preserved until you open it.
So there it is. You collect the sap and boil it. When it gets really thick it’s syrup. Also do you see that percolator coffee pot? Yep that’s maple flavored coffee perkin in there. You need to try that!
To clean up all that camp fire and other whatnot. I recommend milk stone cleaner. I do use stainless pans though so make sure your stuff is good for this. But it does kick some butt on that black stuff.

What about frozen water on in your bucket?
Here’s some frozen syrup that is in the finishing pan. Do you think the ice has no sugar in it????
I’ve seen TV shows on maple sugaring where they throw the ice out because they say “It’s just water. the sugar stays in the liquid” They then dump the ice out on the ground and keep the liquid. I’ve also been told by others that the ice doesn’t contain hardly any sugar so it’s ok to get rid of it. However my picture of near finished syrup above tastes just as sweet as ice cream! So I think the frozen water in the bucket at left still has sugar too.
I am a chemistry teacher so here are some opinions of mine to fact check if you wish. Sugar in water is a homogeneous solution. That means that the sugar is spread evenly throughout the solution. I tell students that homogeneous solutions are when every drop would taste the same (but also say don’t taste your solutions in chemistry!!). So the bucket should contain equal sugar everywhere.
Also, when you add sugar or other solutes to water, the freezing and boiling points change depending on how concentrated they are in the solution. This is called a colligative property. The solute molecules disrupt the crystal lattice formation of the ice crystals. Basically I can calculate how concentrated the solution is by measuring boiling and freezing point changes.
How concentrated are the solutions in the pictures? If finished syrup boils at 4 C above 100, the concentration would be about 7.8 M. This divided by 25 would give us a best case concentration of sap. That would be .31 M How does that effect freezing point? -.58 C. In other words the water in the bucket should freeze at 30.98 Fahrenheit. Only one degree less than regular water!
Without the calculating all I have to do is boil some fresh sap and put a thermometer in it. It’s not much any different than 212 and therefore it wont freeze any different either.
So maybe you’re thinking that there is some sort of irregularity. Or perhaps the sugar slowly separates from the water as it freezes because of this 1 degree. Then what happened to my sweet as ice cream sap that froze? Huh?
The sugar in fact may separate into less frozen pockets of water. But even if they do, I think they are still in the ice . Lets compare it to sea ice. Multi-year ice is drinkable. But that’s multi year ice! Fresh sea ice can’t be used for water. It takes years for those pockets to find each other and drain out. My bucket froze over night. I’m not waitin years, and I want the sugar. I’m keeping all my ice.


 Here’s how I hook the tube up to a the spiles
 The wood one falls off more frequently, I’m going to have to wittle it down more and I’m sure it will be fine